Everything you need to know about printing and panel processing to make your first photo exhibition a success | A professional's guide to preparation
目次
この記事について
PHOTOPRI(フォトプリ)
プロ品質の写真プリントサービス
「PHOTOPRI(フォトプリ)」は、写真展クオリティのプリントを提供する専門店です。一枚一枚の色を丁寧に調整し、30種類以上の用紙から最適なものを提案。あなたの作品が持つ魅力を最大限に引き出すお手伝いをします。大切な作品を、最高の形で残しませんか?
[Complete Edition] Your First Photo Exhibition | Professional Instructions from Concept Design to Printing, Panel Processing, and Setup
A photography exhibition is a space where you can express the world of your work. When it is decided to hold an exhibition, you feel a sense of elation, but at the same time, you are overcome with a vague but great sense of anxiety: "Where do I start...?" This is a path that many artists have experienced.
A photo exhibition is not simply a display of photographs on a wall. It is a grand project that involves imbuing a concept with a soul, selecting the works, weaving a story, printing them in the best possible form, and creating a space .
This article is a "Complete Guide to Preparing a Photo Exhibition" for you. PHOTOPRI, which has supported countless photo exhibitions behind the scenes, will teach you everything you need to know to make your photo exhibition a success, step by step, from concept design, the first step in planning, to printing and panel processing, which determine the value of the work, and public relations and setup to reach as many people as possible, and even post-exhibition steps. We hope this article will serve as your "bible" on your journey.

A photo exhibition is the perfect platform to express your worldview.
[Part 1: The "Blueprint" of Thinking and Planning] It all starts with "Why, what, and how do we show it?"
Before we get into the technical details, this is the most important part. If you lose focus here, everything will end up half-baked. Take a moment to reflect on your own heart.
Step 1. Develop a concept - Create the core of your exhibition and put it into words
Why do you want to hold a photo exhibition? Simply saying "I took a lot of photos" won't resonate with viewers.
- What do you want to convey? (Theme): Try to put into words the theme that runs through the entire exhibition, such as beauty, transience, a message to society, or the loveliness of everyday life.
- Who do you want to reach? (Target): Who do you want to see your work? This will affect how you present it and the words you choose.
- What kind of space do you want to create? (Atmosphere): Imagine your ideal exhibition space - quiet and contemplative, vibrant and fun.
Write a statement.
At this stage, we strongly recommend that you write a "statement" outlining your exhibition concept. This will be your artist's statement and will serve as the basis for communicating your thoughts in direct mail, venue captions, social media posts, and more.
Step 2. Select a work - From "favorite" to "inevitable"
Once you have decided on the concept, it is time to choose the artwork. At this stage, it is easy to fall into the trap of choosing only your favorite artworks.
- Consistency with the concept: Is that photo really necessary to communicate the theme of the exhibition?
- Take an objective view: Take some time to look at your photos with a more objective eye. If possible, it can be very helpful to ask a trusted friend or fellow photographer to look at your photos and give their opinion.
- Guarantee of quality: Is the focus correct? Is the image quality good enough to print? We also carry out strict checks on technical aspects.
Step 3. Telling a story - sequencing
The order in which the selected works are arranged on the wall will determine the story of the entire exhibition.
- Physically arrange them: Although it costs money, the most effective way is to print them all out on L-size paper or photo cards and line them up on the floor or wall. You will discover something completely different from viewing them on a computer screen.
- Create a mini-theme for each wall: Dividing the walls of your venue into sections and creating a mini-theme for each will make it easier for viewers to follow the story.
- Be conscious of rhythm: Place a powerful piece next to a quiet one, or combine large and small pieces, to create a rhythm (jump rate) that will keep the viewer interested.

The selection and sequencing of works is the most creative part of structuring a photo exhibition.
[Part 2: Embodying Expression and Technology] Giving your work the ultimate shape
Once the concept and composition have been decided, the work is finally transformed into a physical object. The quality of this process directly influences the impression it leaves on the viewer.
Step 4. Choose your paper - Give your work texture and expression
Choosing the right paper is like deciding what clothes to dress your work in. It is an important choice that will determine the look of your work.
| Paper type | Features | Recommended genres |
|---|---|---|
| Glossy/silk finish | High color reproduction and a sharp, clear impression. The silky finish reduces light reflection for an elegant finish. | Landscape photography, portraits, snapshots, and any work where you want to make colors look vibrant. |
| Matte paper | It has a matte, soft texture, allowing you to concentrate on viewing the piece without worrying about reflected light. | Black and white photography, fine art, still life, artistic expression. |
| Japanese paper | The unique texture and warmth of the paper allow the ink to soak into it, creating a unique look. | Japanese-themed works, ink painting style illustrations, and fantastical landscapes. |
| canvas | It has the three-dimensionality and presence of a painting, allowing for artistic expression that is a little different from photography. | Illustrations, painting-style photographs, and works that have the texture of oil or acrylic paintings. |
Having trouble choosing paper?
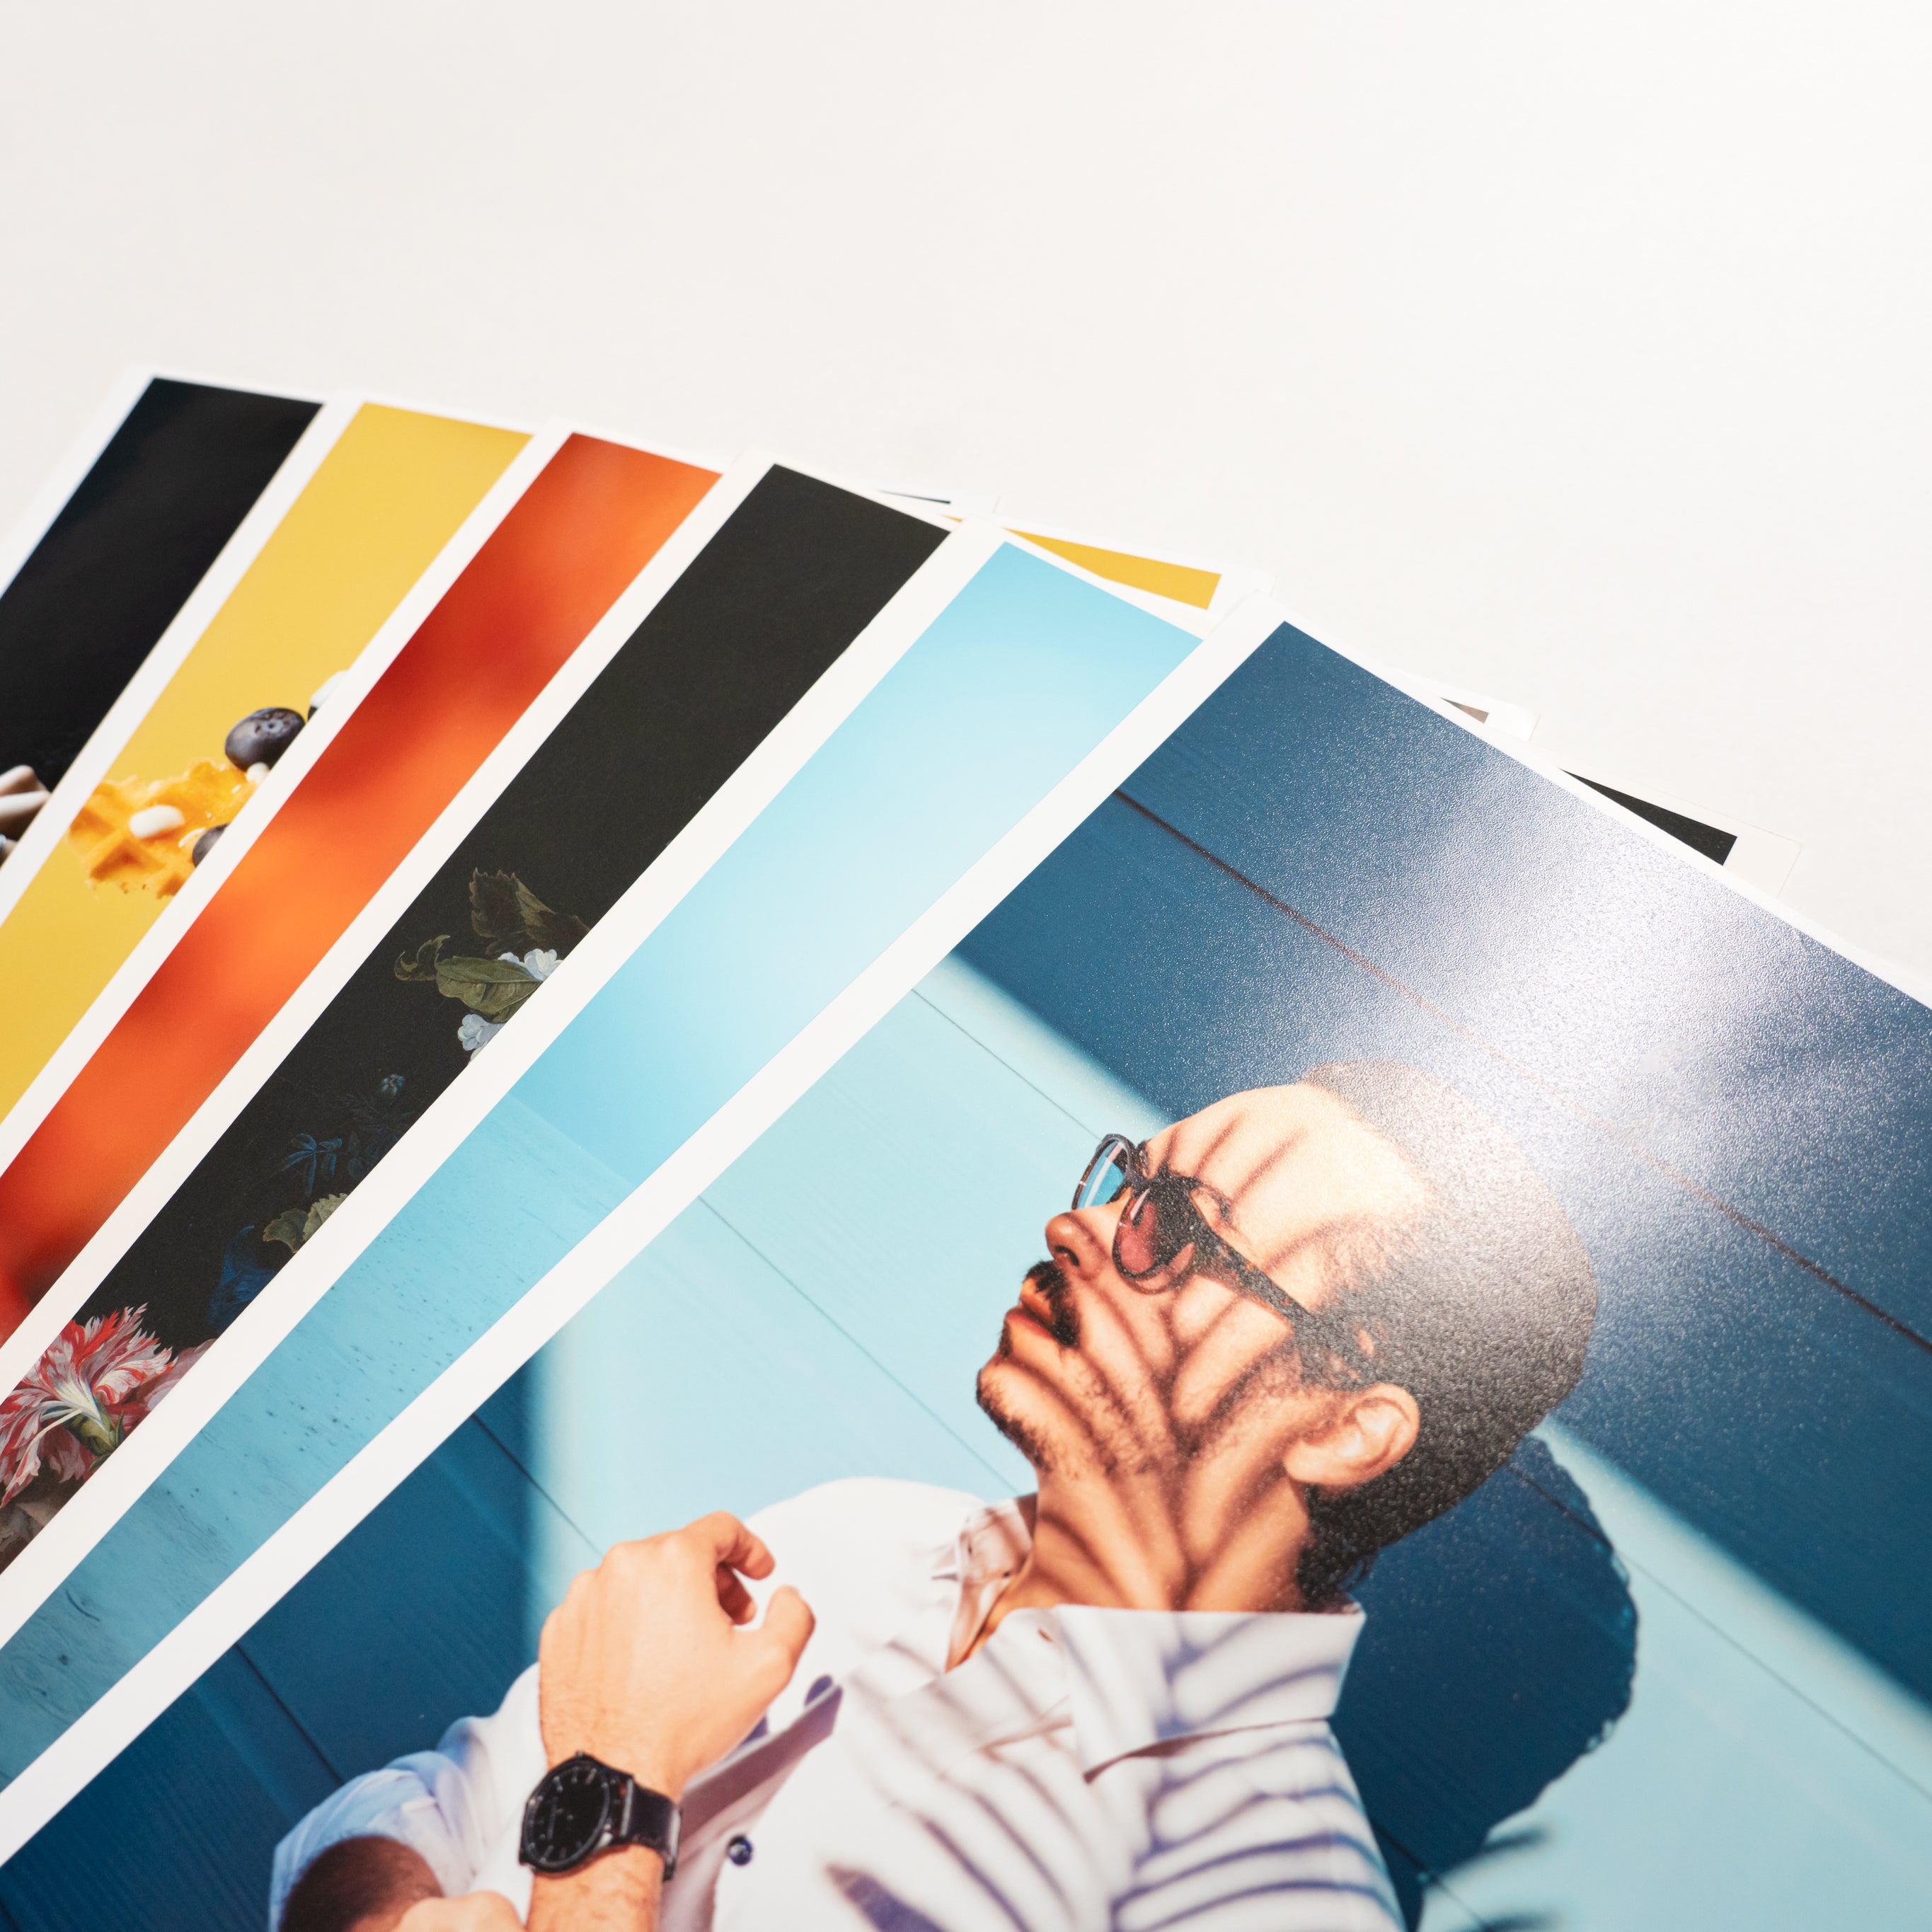
The best way to understand something is to actually see and touch it, rather than just thinking about it. PHOTOPRI offers a "trial print" that lets you check the actual finish using your own data, as well as an "all paper sample" that lets you compare all 23 types of paper at once. Using this, you can approach actual printing with peace of mind. *The number of papers available may change depending on the season.
Step 5. Decide on your display method: panel printing vs. framing
It's the finishing touch to make the best prints look their best.
- Modern and popular "panel printing": Panel printing, which is frameless and highlights the artwork itself, is very popular in modern exhibitions. You can choose from wood panels, styrene panels , etc. depending on your durability and budget.
- Classic and elegant "framing": Framing is the best way to protect your artwork while creating a sophisticated atmosphere. In particular, "book matting," which creates a margin between the artwork and the acrylic surface, not only gives the artwork depth and a sense of luxury, but also plays an important role in protecting the artwork from moisture and adhesion to the acrylic.

Step 6. Choose a printer - find the best partner
The printing company will be the one to finally put the plan you've worked out into shape. It's no exaggeration to say that choosing the right company can make or break your photo exhibition. Check the following points:
- Can you trust the quality? (Resolution and color reproduction): Is the print high enough for exhibition? Is it compatible with RGB printing, which faithfully reproduces the colors on your monitor?
- Do they have the ability to make suggestions? (Knowledge of paper and processing): Can they suggest paper and processing methods that would suit your work from an expert's perspective?
- Is the support system in place? (Communication): Can you easily consult with us about data submission and delivery dates?
At PHOTOPRI, we provide the best support for your creative endeavors with ultra-high-resolution 2880 dpi giclee prints, RGB direct printing that reproduces colors as they appear, and support from expert staff who understand the artist's perspective.
[Part 3: Execution of Communication and Management] Inviting people and preparing the best space
Once the work is complete, the next step is to create a space for it: a photo exhibition.
Step 7. Public Relations Strategy - Getting Your Story Out
Even a great exhibition is useless if no one sees it.
- Create a DM (Invitation Letter): This is the face of the exhibition. Include the title, dates, venue, concept, etc., and create a design that conveys your worldview.
- Use social media: Use X (formerly Twitter) and Instagram to share the preparation process and create countdown posts to build anticipation. Creating a dedicated hashtag is also effective.
- Press release: Provide information to online media, magazines, etc. with the aim of having your information featured in articles.
Do you know about PHOTOPRI's "Exhibition Announcement Service"?
If you have had your work printed by PHOTOPRI, we will help you publicize your exhibition information free of charge on our social media accounts upon request. This is your chance to let more photography and art lovers know about your exhibition. Please take advantage of this opportunity.
Step 8. Manage your budget - Face reality and make a plan
There are various costs involved in hosting a photo exhibition, so it's important to list them in advance and manage your budget.
- Main cost items: venue fee, printing and processing fees, direct mail and public relations fees, transportation costs (rental car fees, etc.), supplies costs (guest book, captions, business cards, etc.), reception party costs (if one is held).
PHOTOPRI offers volume discounts (10% off for 10 or more copies) for those who need to print a large number of copies, supporting artists in terms of production costs.
Step 9. Prepare the furniture – details that enhance the space
- Captions: Include the title of the work, the year of production, the equipment used, etc. Using PHOTOPRI's "Caption Panel," you can easily create professional-quality images.
- Guest book and pen: The impressions of visitors are treasured.
- Portfolio/Business Cards: For future connections with people who are interested in you.
- Sales Price List: If you plan to sell your work, prepare a price list.
[Part 4: The "real" experience and dialogue] Present your world in its best form
Step 10. Delivery and Setup - The Ceremony to Breathe Spirit into the Tree
Now it's time to set up the tent. Prepare a list of items to bring (tape tape, level, white gloves, spare nails and wire, etc.) and proceed in a planned manner.
- Check the placement of the artwork: Place the artwork tentatively on the wall according to the planned sequence.
- Adjusting the height and level: The basic principle is to align the center lines of all the pieces (centering). Use a level to adjust in millimeters.
- Final lighting adjustments: This is one of the most important steps. We change the angle and intensity of the spotlights to find the light that makes the artwork look its most beautiful.
Step 11. How to be present in the gallery - Time for you to be the "main character"
Stay at the venue (in the gallery) as much as possible. Your presence will allow visitors to ask questions freely and allow you to directly communicate the thoughts and background behind the works. This dialogue is the greatest joy and treasure you can gain from a photo exhibition. Dress neatly and neatly so as not to interfere with the artwork.
[Part 5: Connecting to the Future: "Afterwards" Edition] The photo exhibition is not the goal
Step 12. Remove and give thanks
It may be a shame to see the exhibition go, but on the last day, you will have to dismantle the exhibit. Please express your gratitude to the gallery staff who have been so kind to you, and don't forget to repair the walls.
Step 13. Turn feedback into empowerment
Remember and write down the comments made in the guest book and conversations with visitors. Their objective opinions will give you great hints for your next creative endeavor.
Step 14. Next step
Selling your work, updating your portfolio, planning your next exhibition... A photography exhibition is not a goal, but a glorious milestone in your daily life as an artist.
Summary: With the best preparation, you can have the best photo exhibition.
Holding a first photo exhibition is a big challenge for anyone, but if you take each step carefully and choose a trustworthy partner, you can be sure of success.
At PHOTOPRI, we promise to meet all your needs with our many years of experience and the best technology, from the "printing" that embodies the soul of the work, to the "panel processing and framing" that brings out its charm to the fullest, to the "space" that creates a dialogue with the viewer.
We look forward to seeing your creative journey come to fruition in the best possible way.
Consult us about printing and processing for your photo exhibition
Related keywords
この記事を書いた人
PHOTOPRI(フォトプリ)
プロ品質の写真プリントサービス
「PHOTOPRI(フォトプリ)」は、写真展クオリティのプリントを提供する専門店です。一枚一枚の色を丁寧に調整し、30種類以上の用紙から最適なものを提案。あなたの作品が持つ魅力を最大限に引き出すお手伝いをします。大切な作品を、最高の形で残しませんか?
