


ABOUT PHOTOPRI
PHOTOPRIとは?
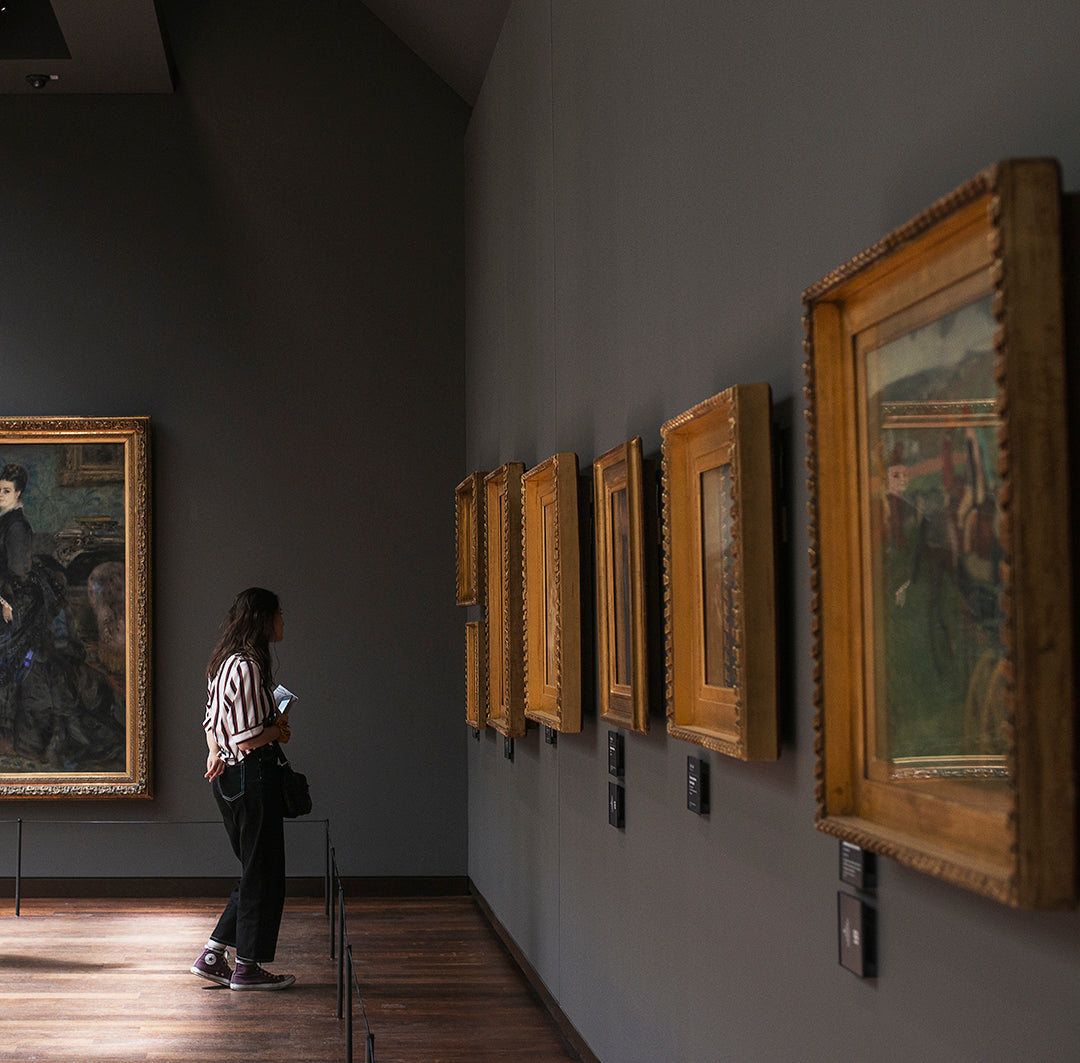
写真展や美術展、コンテストを目的とした大判印刷をサポートし続け約15年。
写真やイラスト・NFTアートを世界各国、各メーカーのアート用紙&EPSON社純正インクを使用した超高精細ジークレー印刷で表現。
お客様の作品作りをサポートさせていただきます。
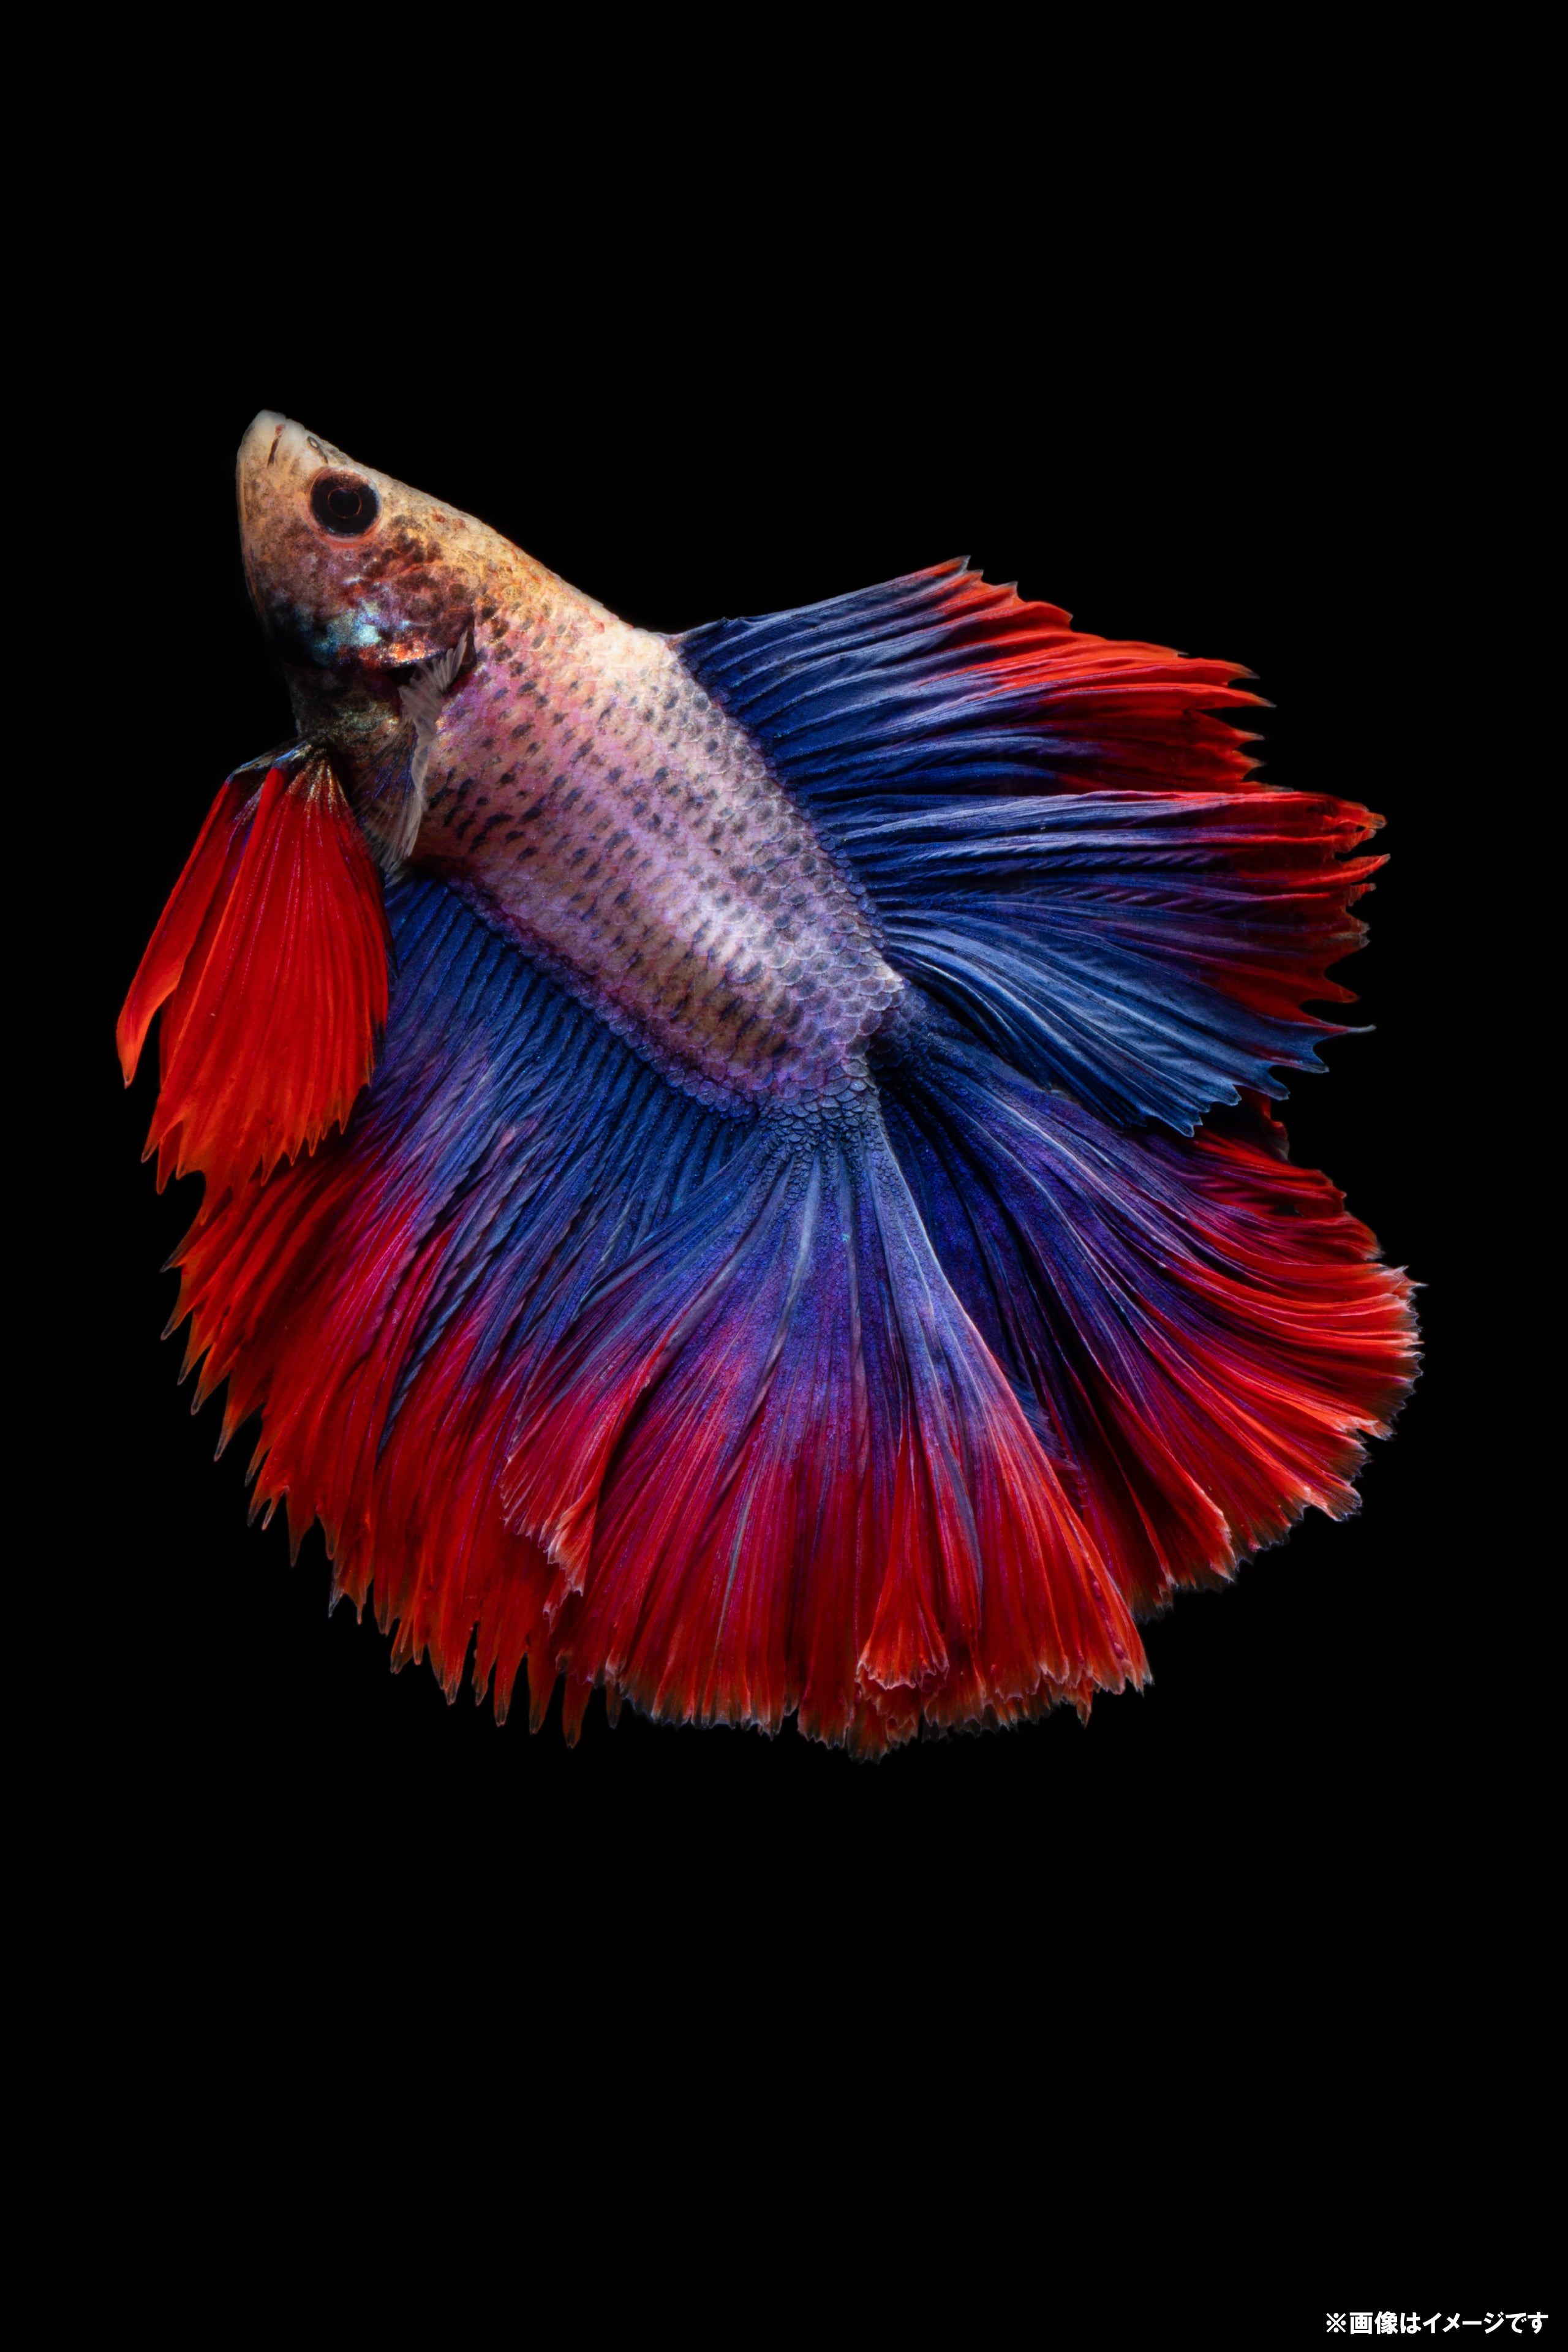
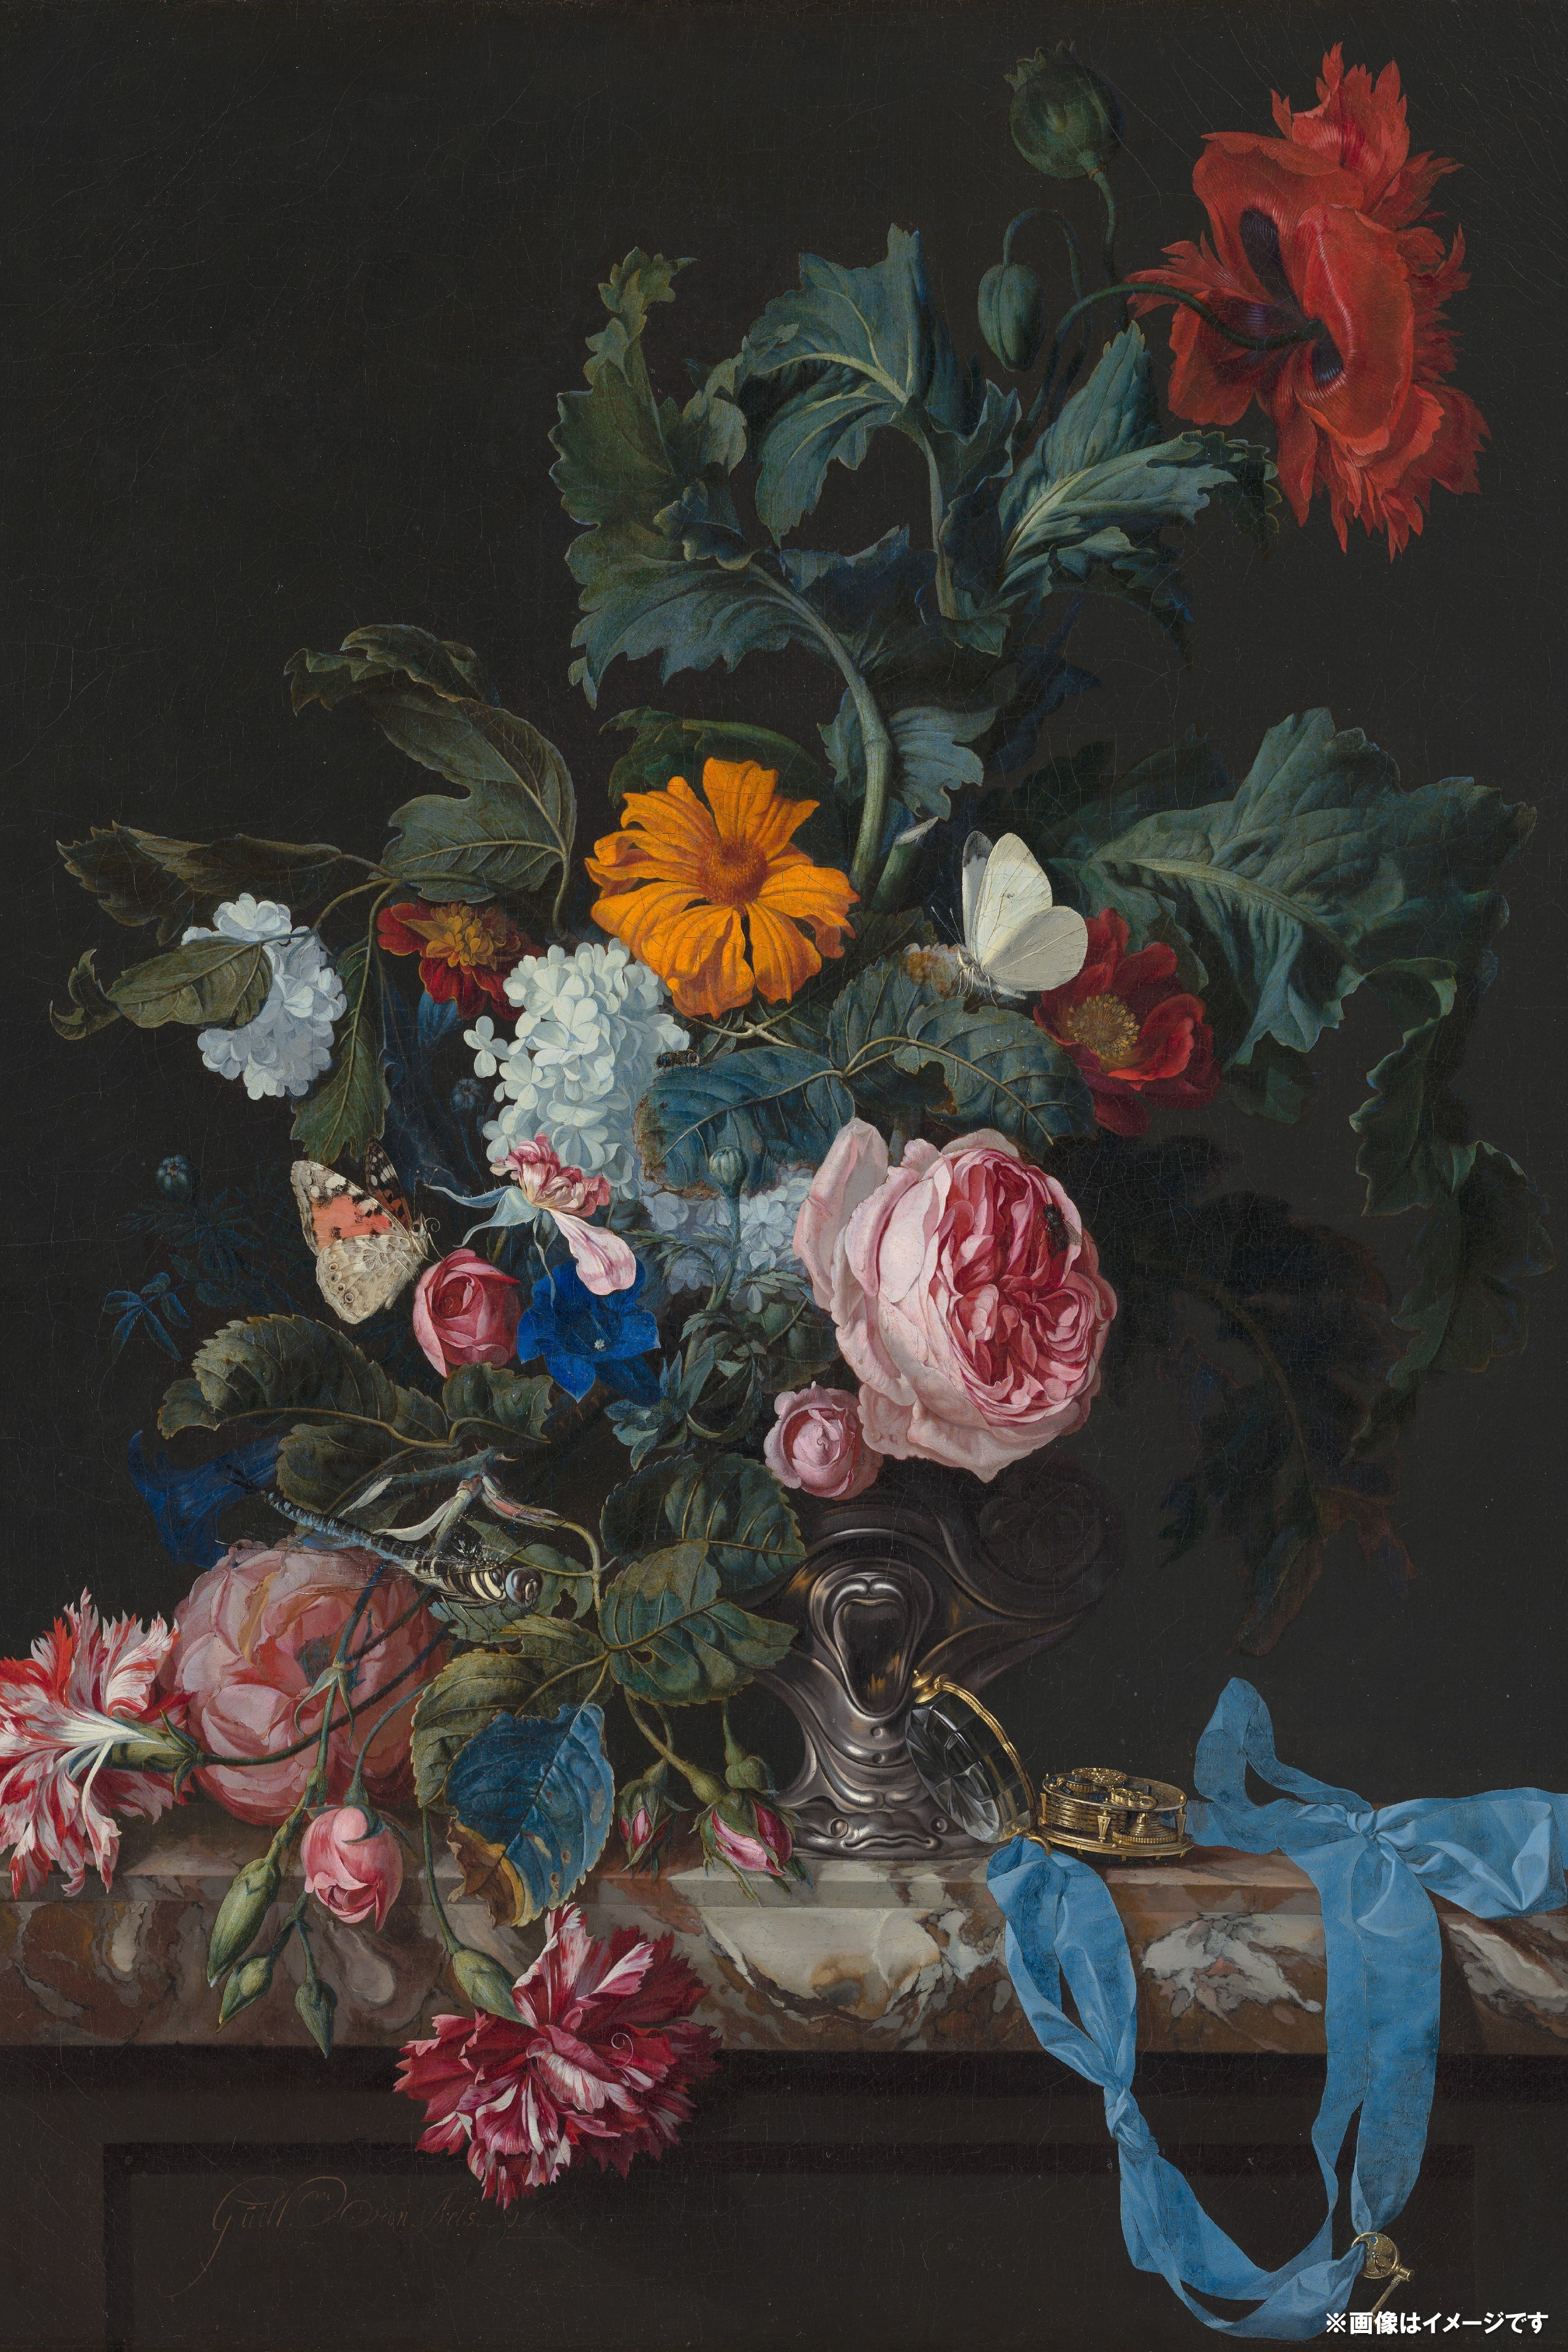
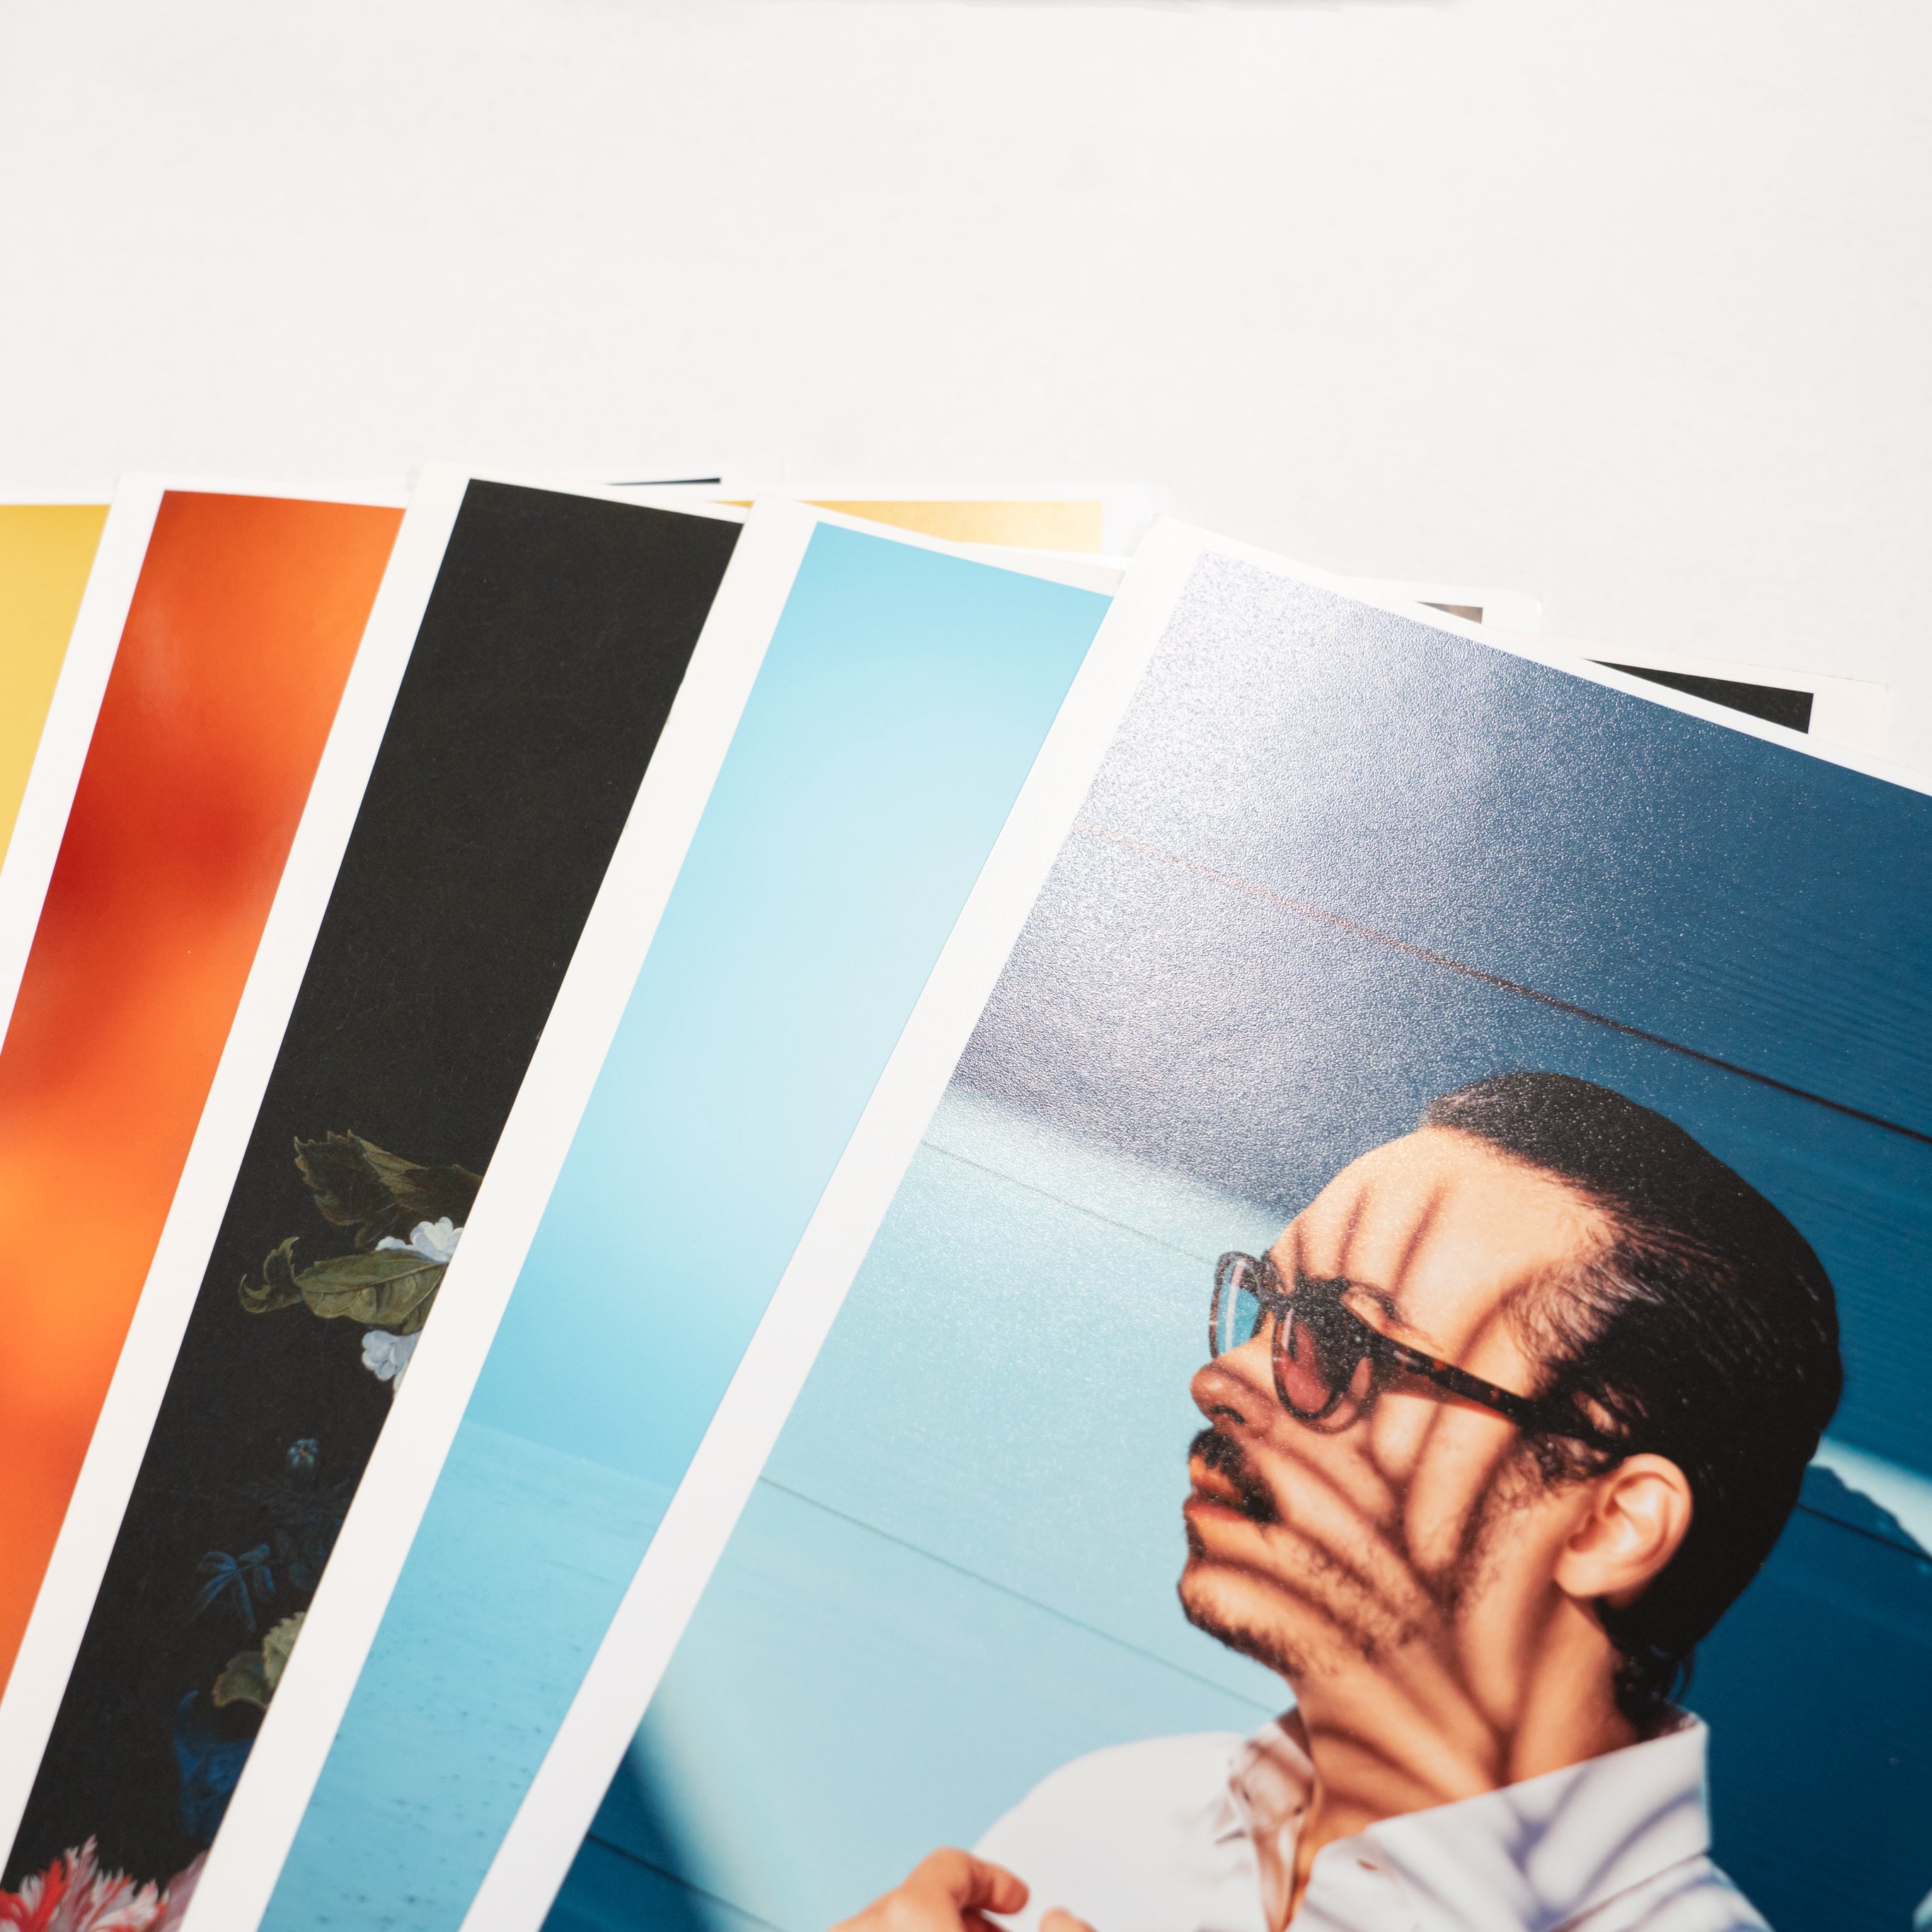
1677万色の表現幅と色のりの良さで臨場感溢れる色彩を用紙に表現し、目にする方の気持ちへアプローチします。
”PHOTOPRI”の3つの強み
印刷は作品の最終工程、いわば料理でいう盛り付けです。
どんなに美味しい料理であっても、盛り方やお皿に印象は左右されるように
デジタル全盛の時代だからこそ、手の届く距離で見る作品はより美しく仕上げる事が必要とされています。
こだわりのアートペーパーと色調豊かな純正インクを組み合わせる"PHOTOPRI"であれば、
他印刷業者様と比べ、目にする者をより魅了する作品に仕上げることができます。
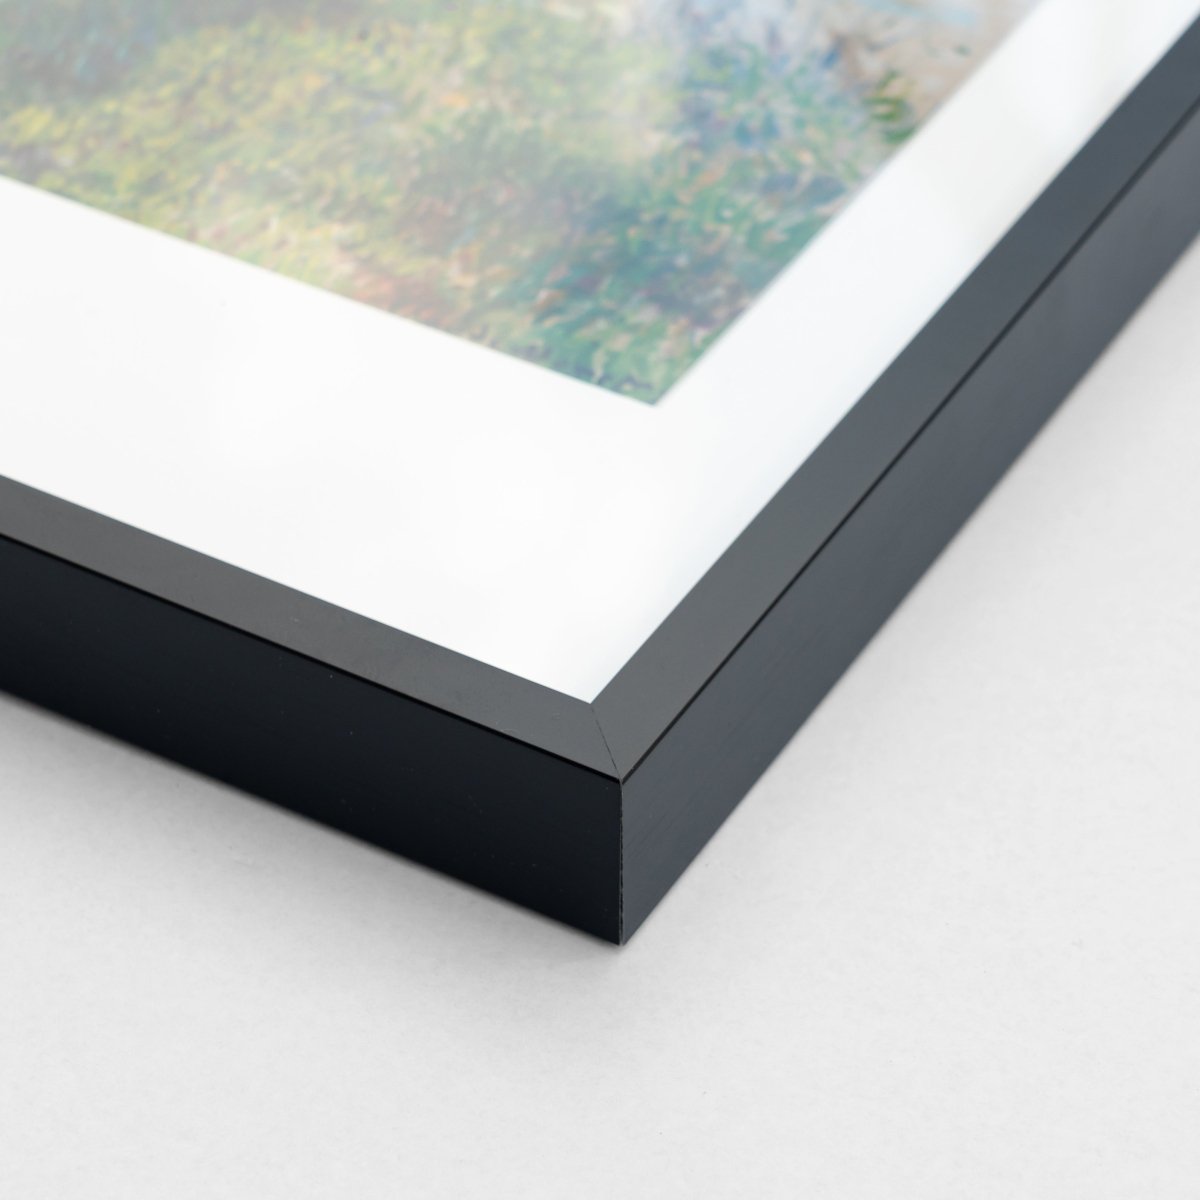
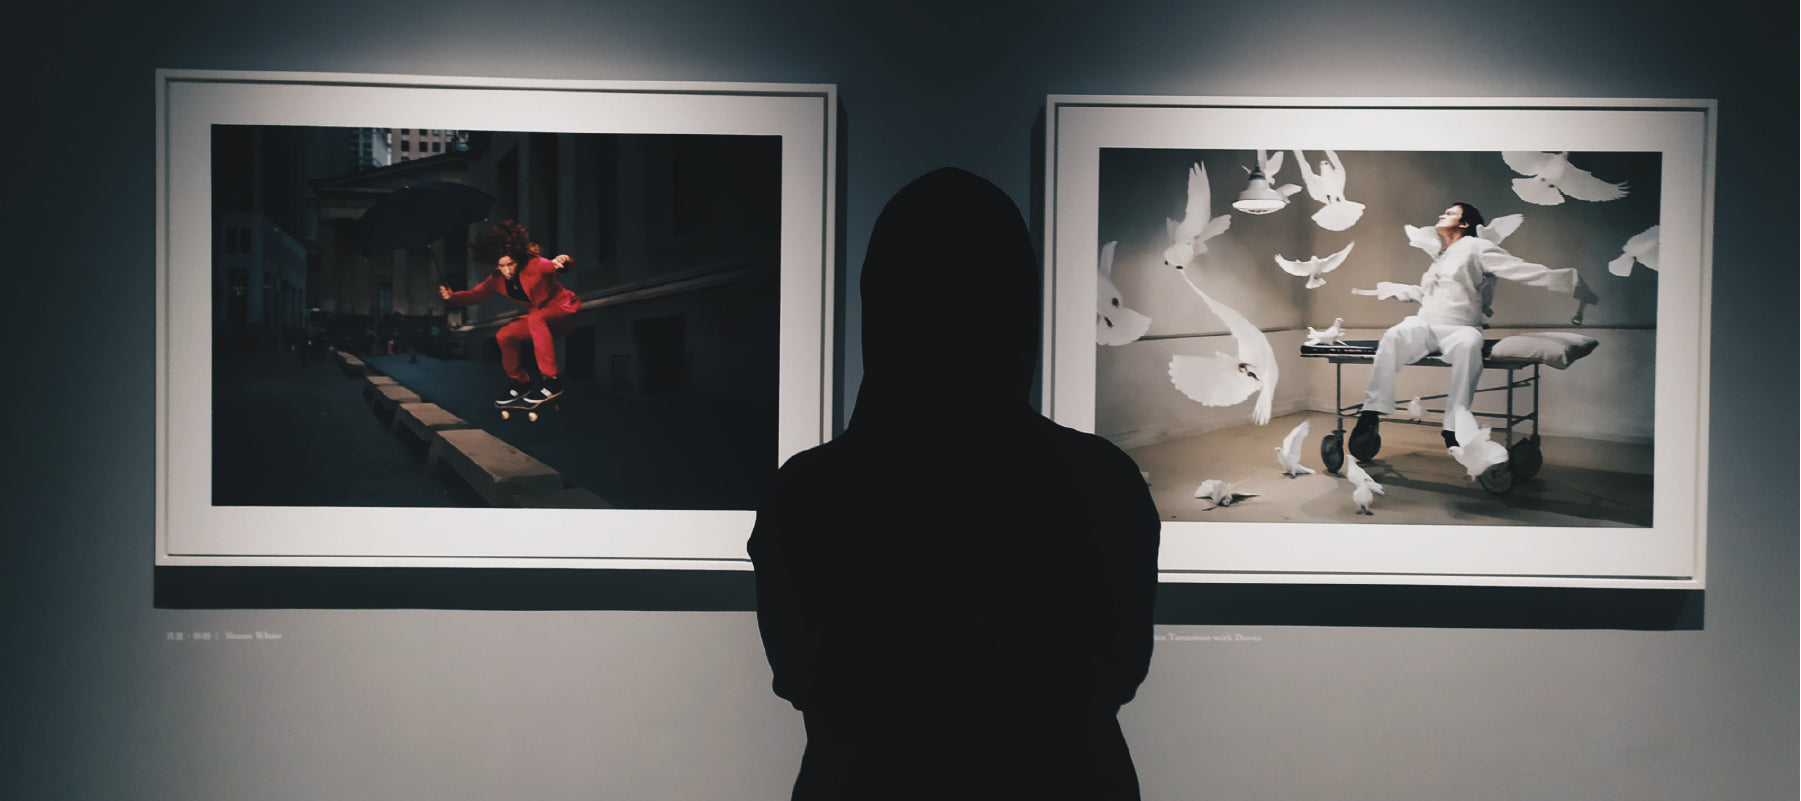
PRINT RESOLUTION
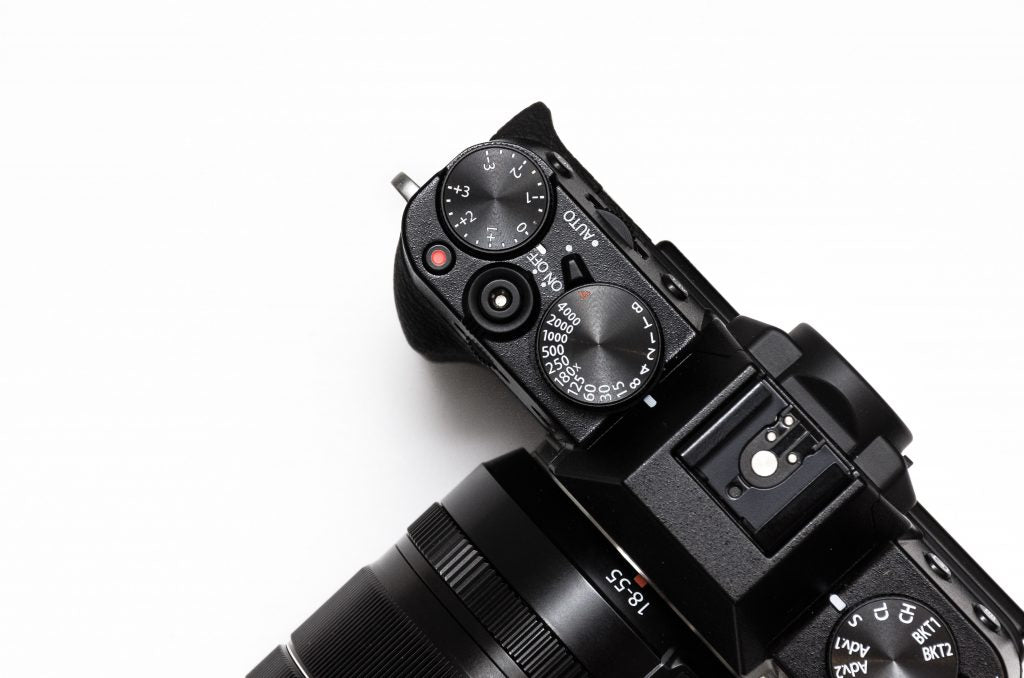
超高精細なプリント解像度
フォトコンテスト入賞も多数、額に入れて置くだけで存在感のある作品へ
「安い ネットプリント」で検索して出てくるサービスのほとんどは、チラシなどのビジネス向けのためプリント解像度が低く作品や写真にするのには全く向かない設定です。
”PHOTOPRI"なら超高精細(2880×1440dpi)と言われる作品作りに特化した高品質なジークレープリントなので作品の迫力や存在感を引き出したい時に最適です。
LONG LIFE
作品の長期保存
著名な写真家も愛用する、EPSON社純正のプリンター&インクを使用しているため、作品としてのクォリティだけではなく30年以上の耐光性、長寿命プリントで定評のあるエプソン顔料大判インクジェットプリンタSureColorでの出力を行っております。
作品の販売など、作家の手を離れた後もより長い期間作品を劣化させずに飾っていただけます。
COLOR CONTROL
ディスプレイに近い色表現
RGB印刷を採用しているため、スマホやPCディスプレイに近い色再現が可能です。
自宅やコンビニで印刷したけど、粗かったり思った仕上がりにならなかったりした経験はありませんか?
”PHOTOPRI”では入稿〜出力設定、梱包まで人の手で1つ1つ確認をしており
解像度と指定サイズが合わない場合など、ご連絡を差し上げることがございます。
”PHOTOPRI”でできる範囲でイメージに近い作品出力に協力をさせていただきます。
VOLUME DISCOUNT
大量に出力が必要な個展をサポート
写真展や個展の開催のため複数枚ご注文される方も多いですよね。
PHOTOPRIでは一度の注文が10枚以上の場合は10%OFFの割引をしております。(30枚で12%/50枚で13%/100枚で15%)
個展の準備資金が数万円も浮くこともあるので、他の準備に予算を割くことができます。
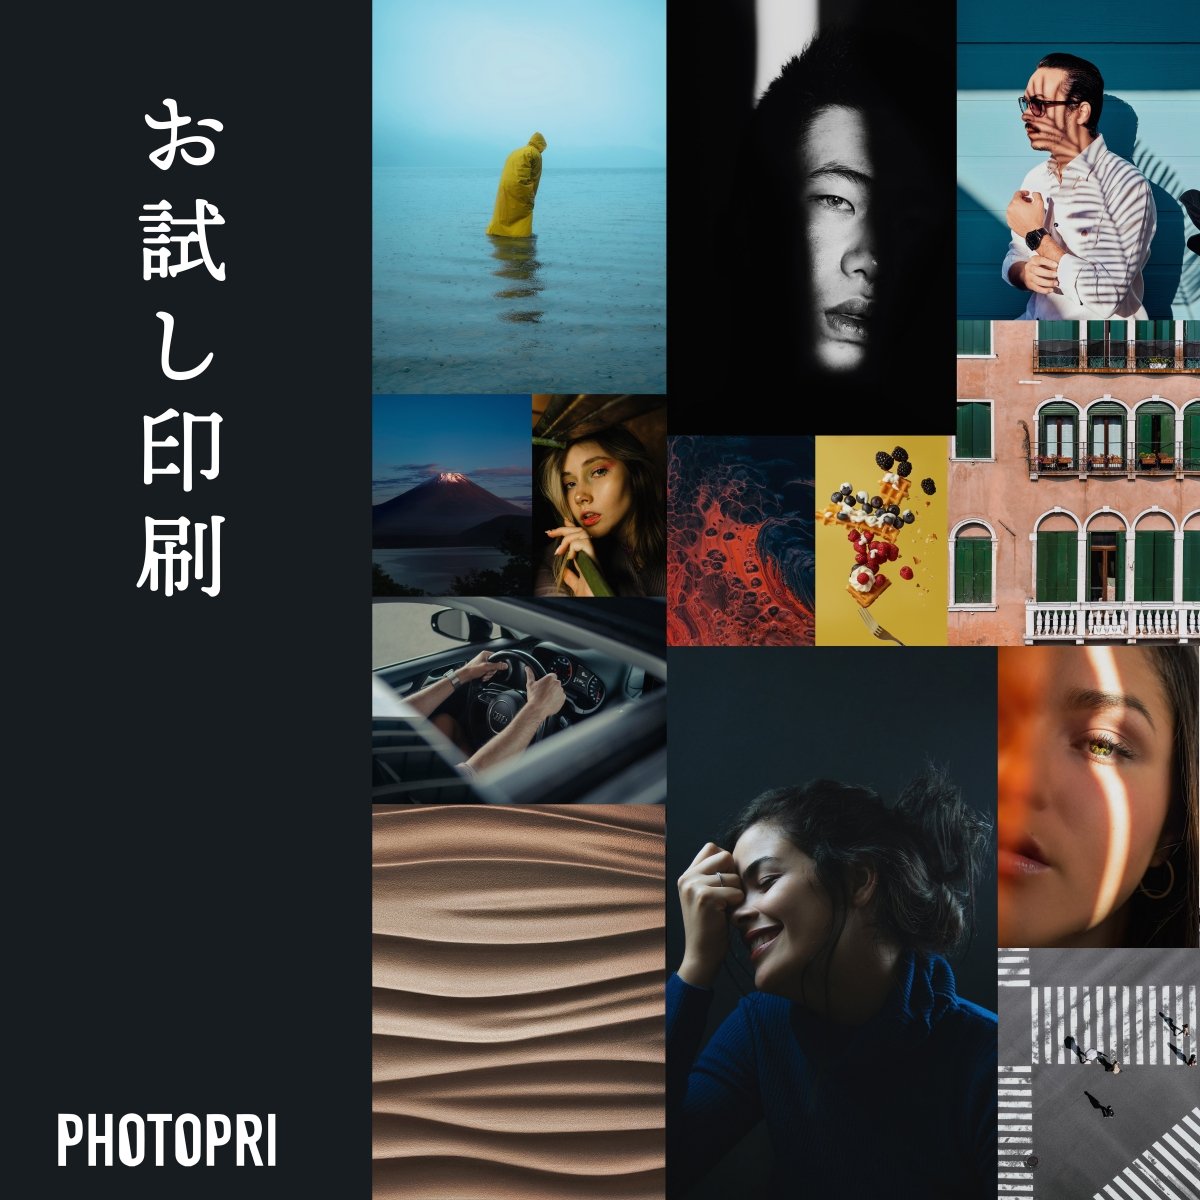
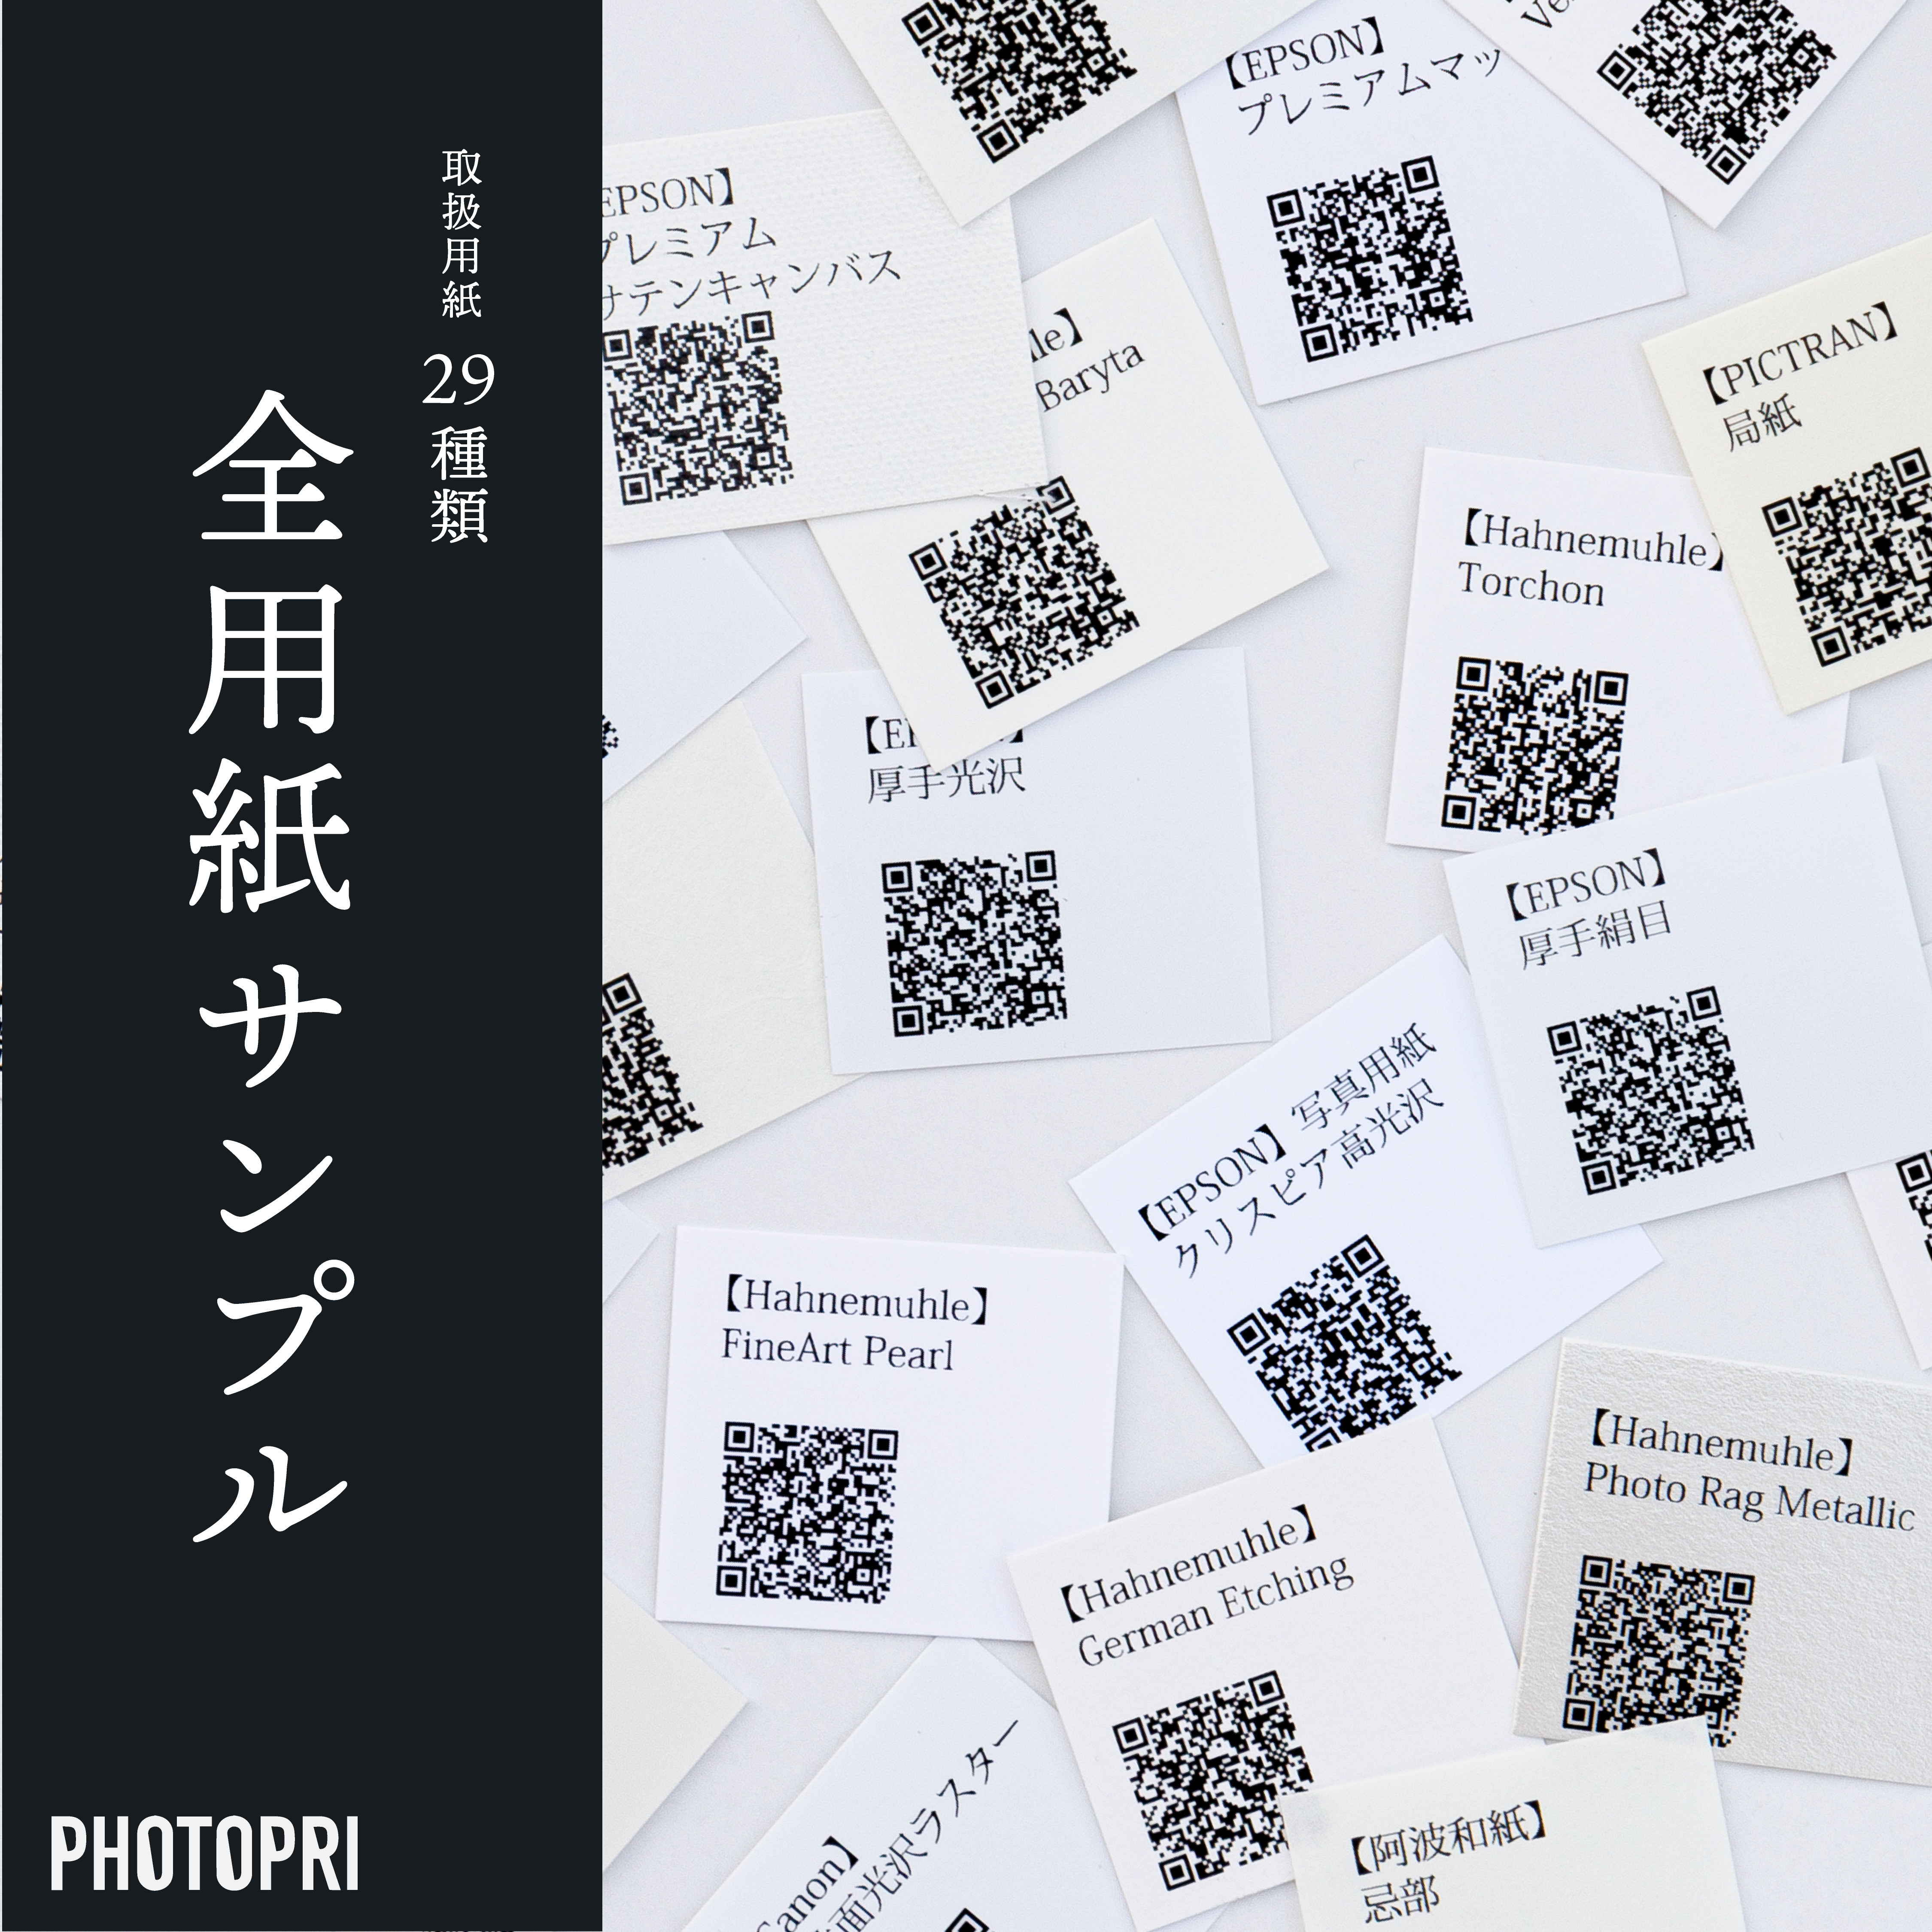
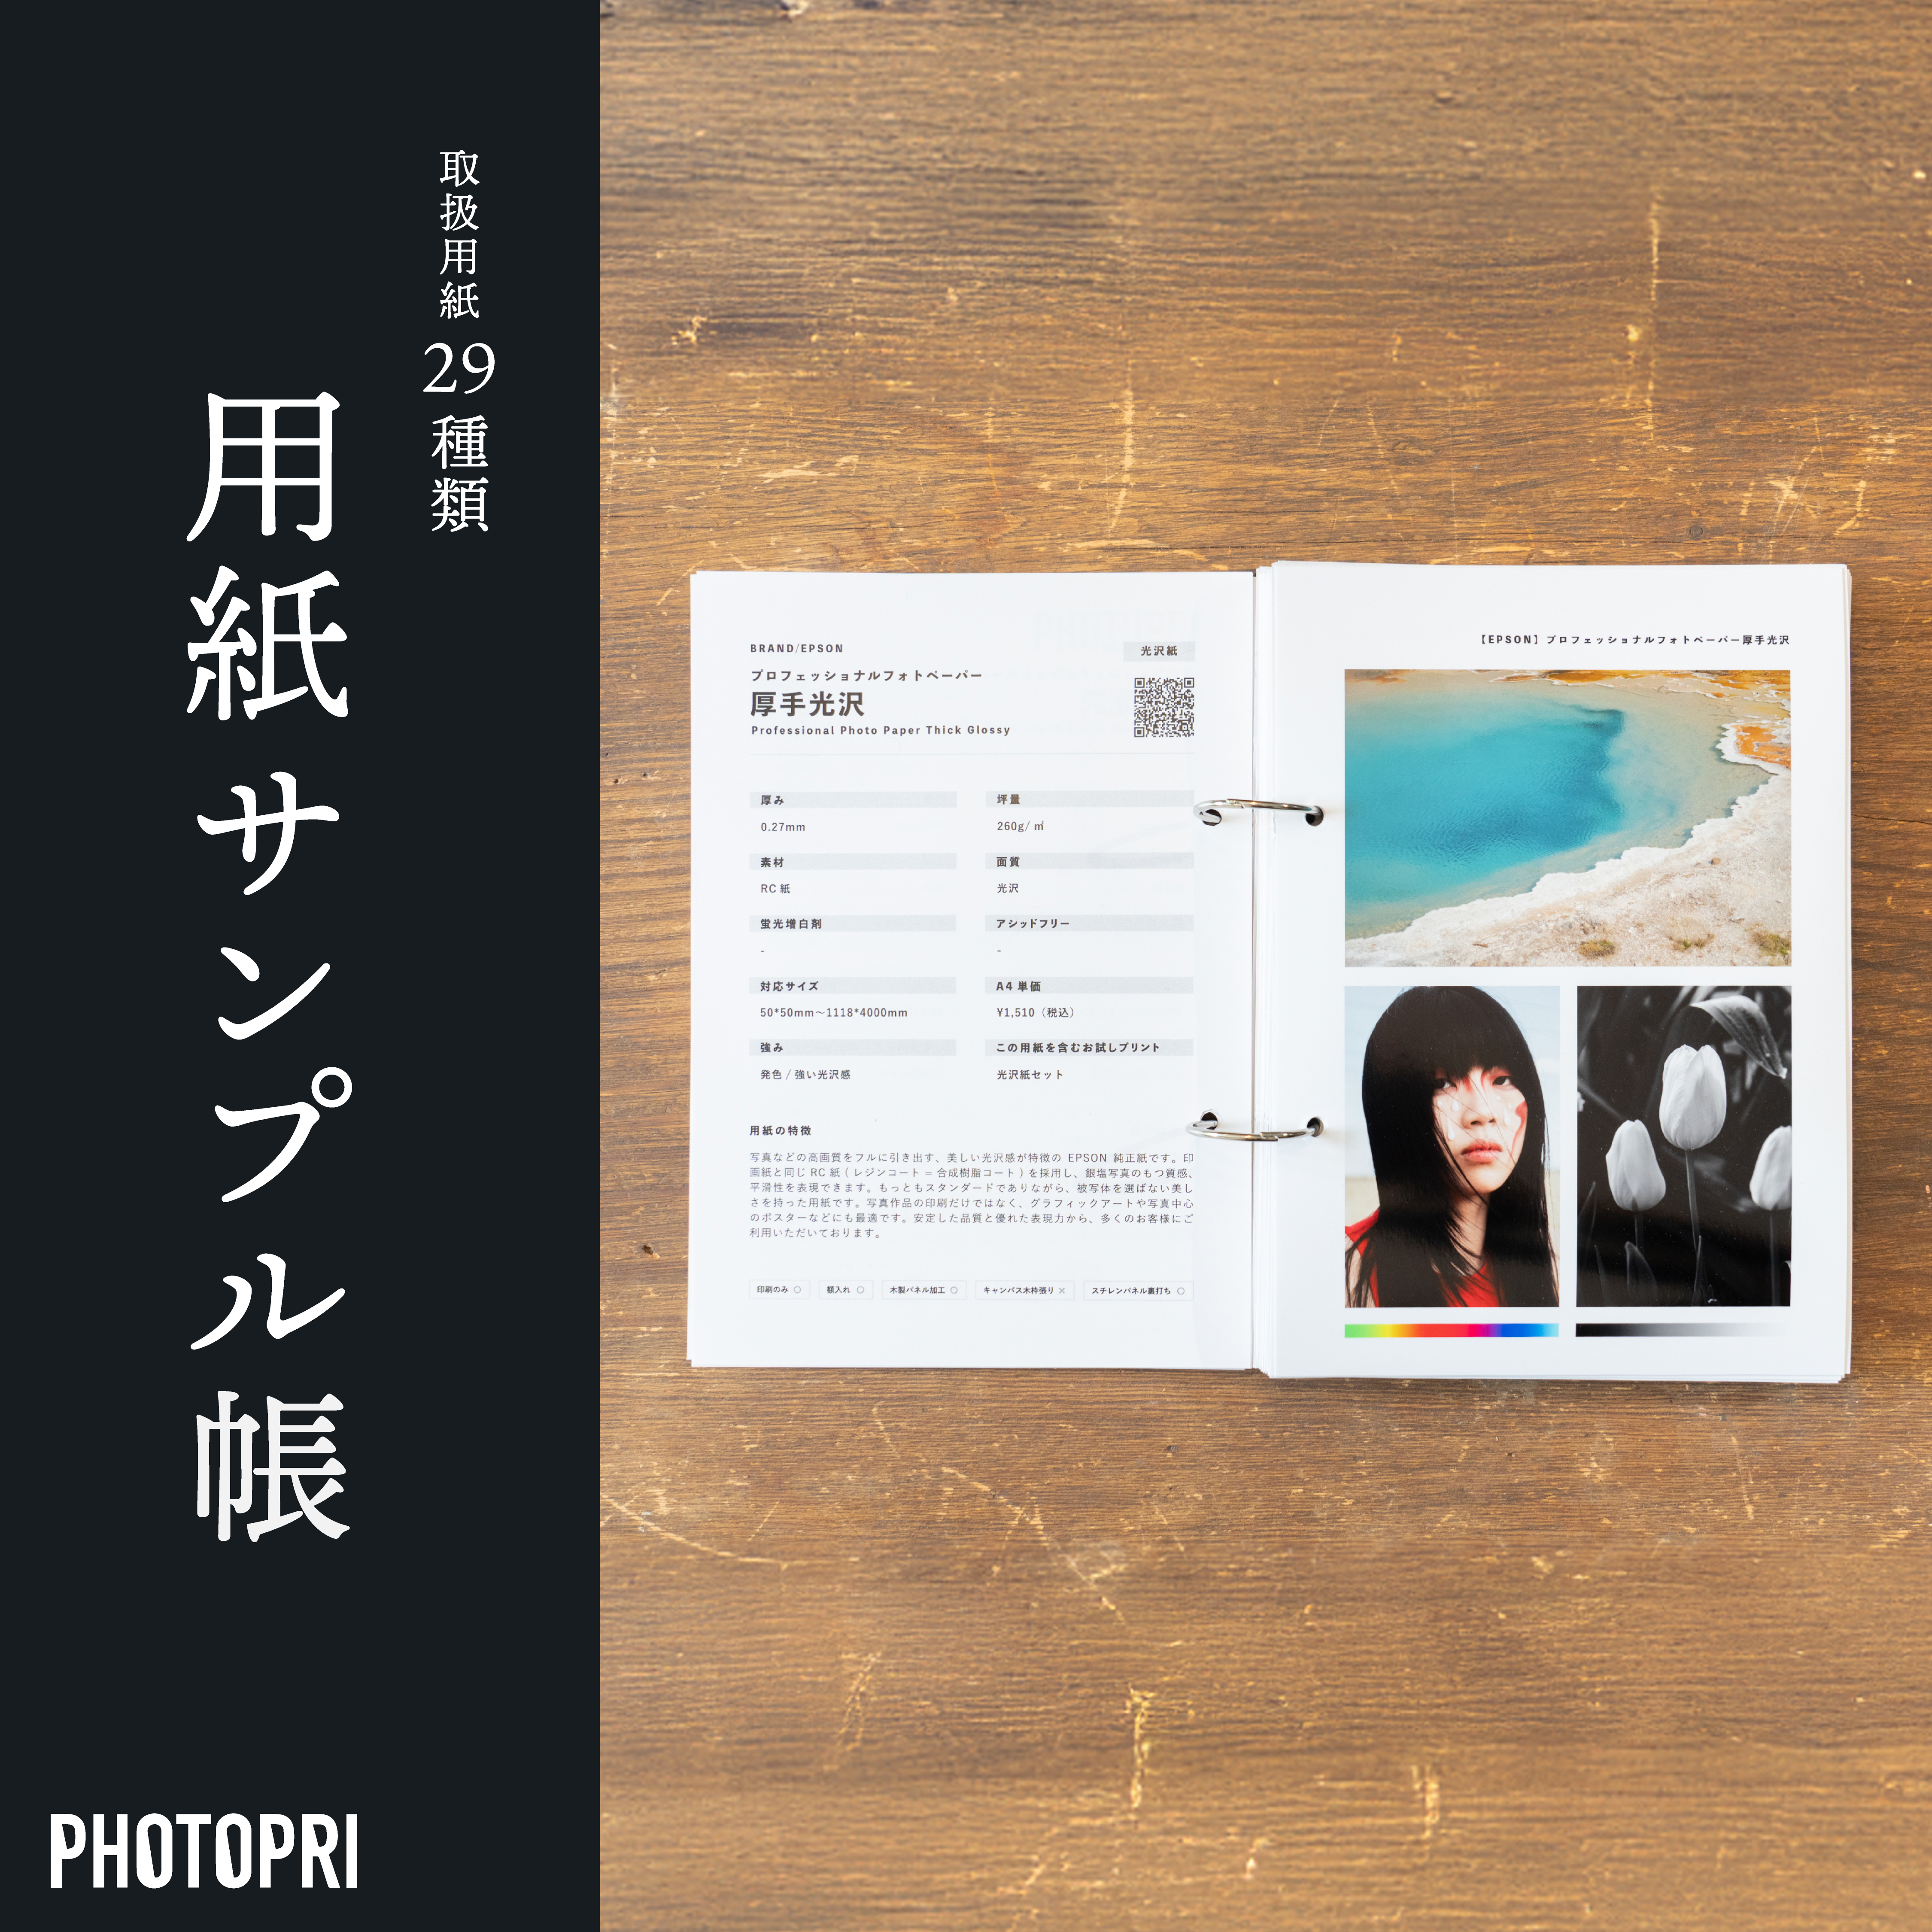
用紙を選ぶ


初めての方にはこちらがおすすめ
業界随一の品質だと思うのですが、これに反して何故か知名度が低い。
「ネットプリント」でサーチをかけてもなかなか出てこないのが欠点ですね。
私としましては納期も品質も大変満足しております。
フォトスタジオ G様
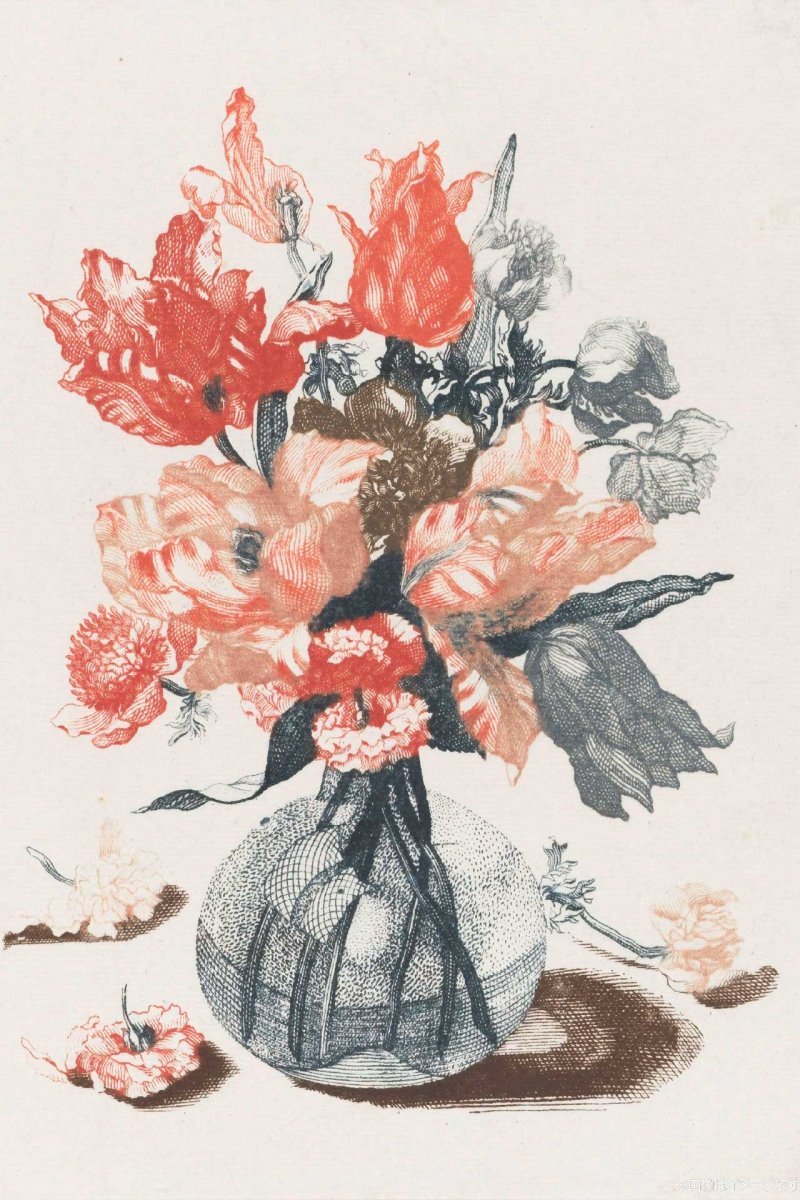
B4サイズで、アナログイラストの複製原画の製造をお願いしました。
色が沈むことなく鮮やかで、直にペンで描いてあるかのように見えるくらい印刷の精度が高く、複製原画として満足いく仕上がりでした。
またフラット発送で、紙の反りがない状態で届きました。
20枚を超える発注にも迅速に丁寧に対応していただき、とても助かりました。
イラストレーター M様
いつも利用させていただいてます。
印刷物の仕上がりは展示仲間にも驚かれますので、都度紹介をさせていただいております。
今年はコロナの影響でなかなか展示をする機会がなく、発注もできないため心苦しいですが、また依頼するときが楽しみです。
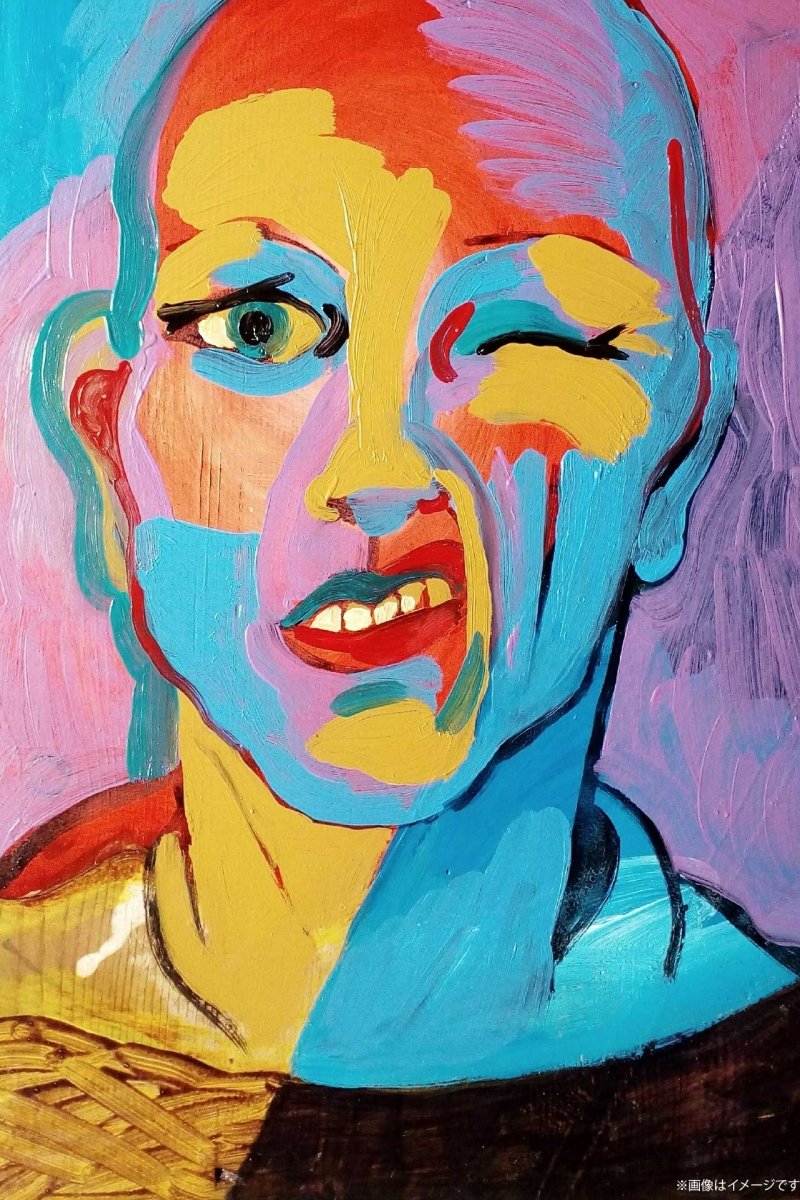
写真家 K様
いつも迅速に手ごろな価格で品質の良いポスターを刷っていただいて感謝しております。
こちらで気づかなかった発注ミスにも気づいてくださりその対応も素早いため、私たちの作品づくりにはなくてはならない存在です。
また利用させていただきます。
デザイン事務所 K様
”あったらいいのに”をお伝えください
”PHOTOPRI”のサービスは常にお客様の声で変化してゆきます。 「この用紙で出力できるようにして欲しい」など、ご要望をいただければ弊社スタッフが直接ご相談させていただきます。
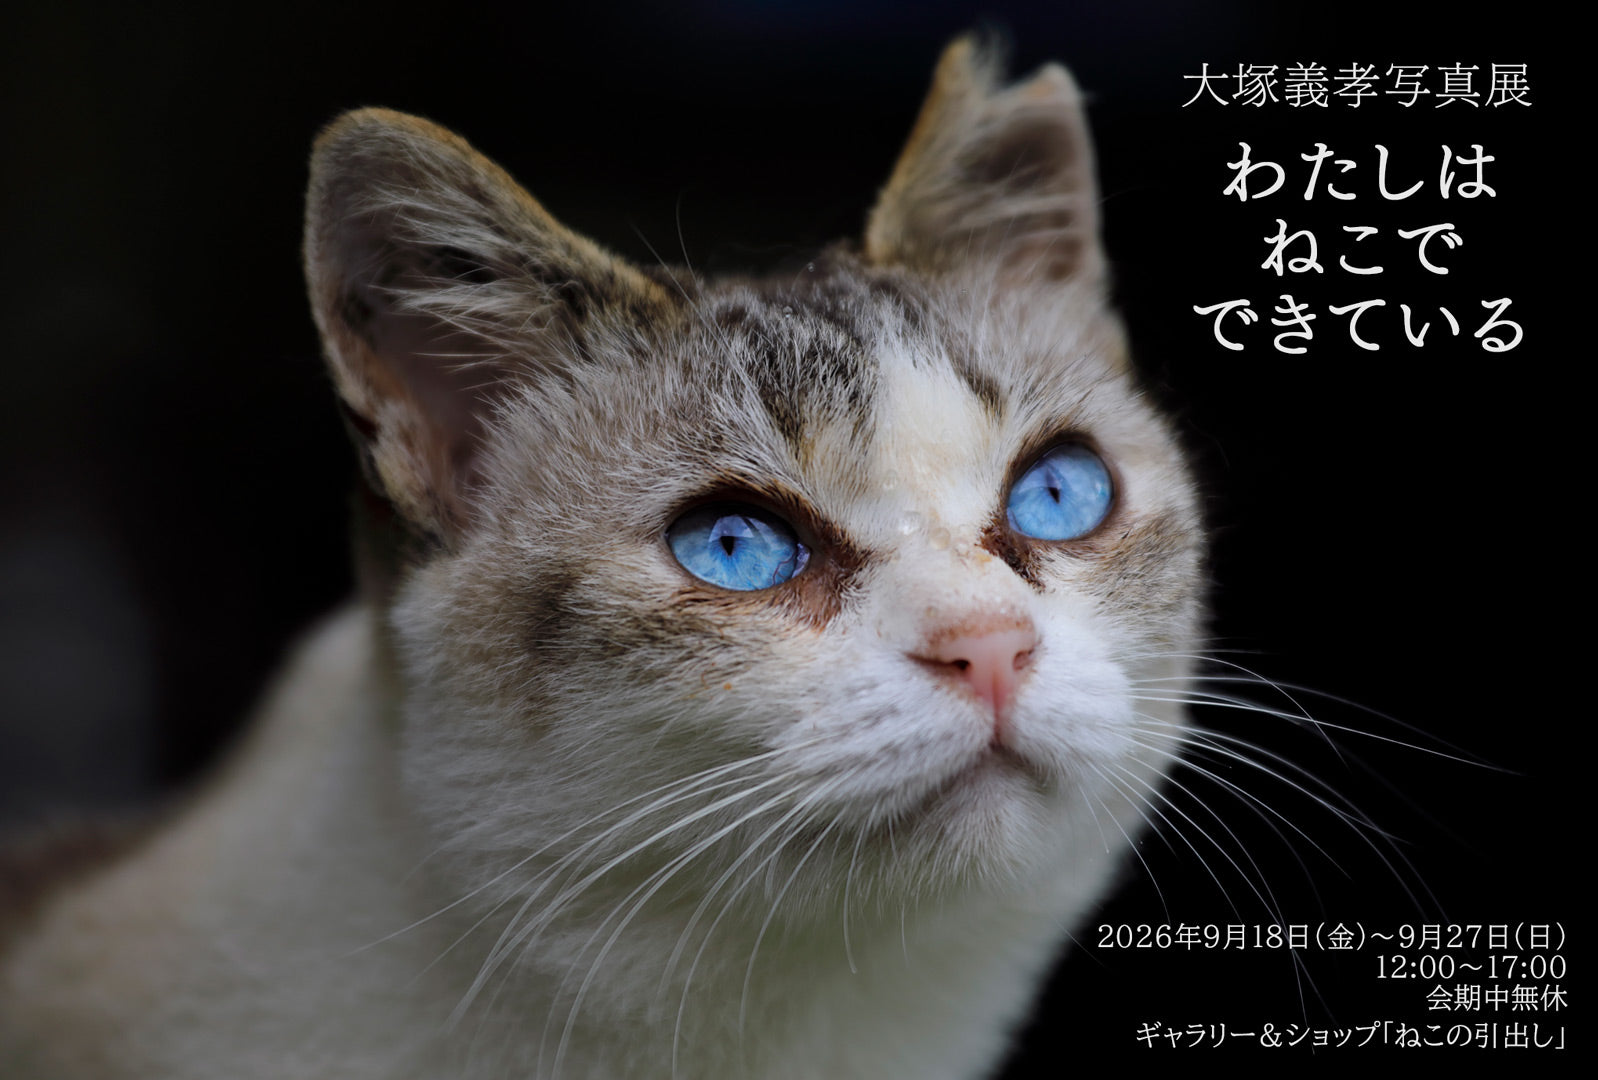
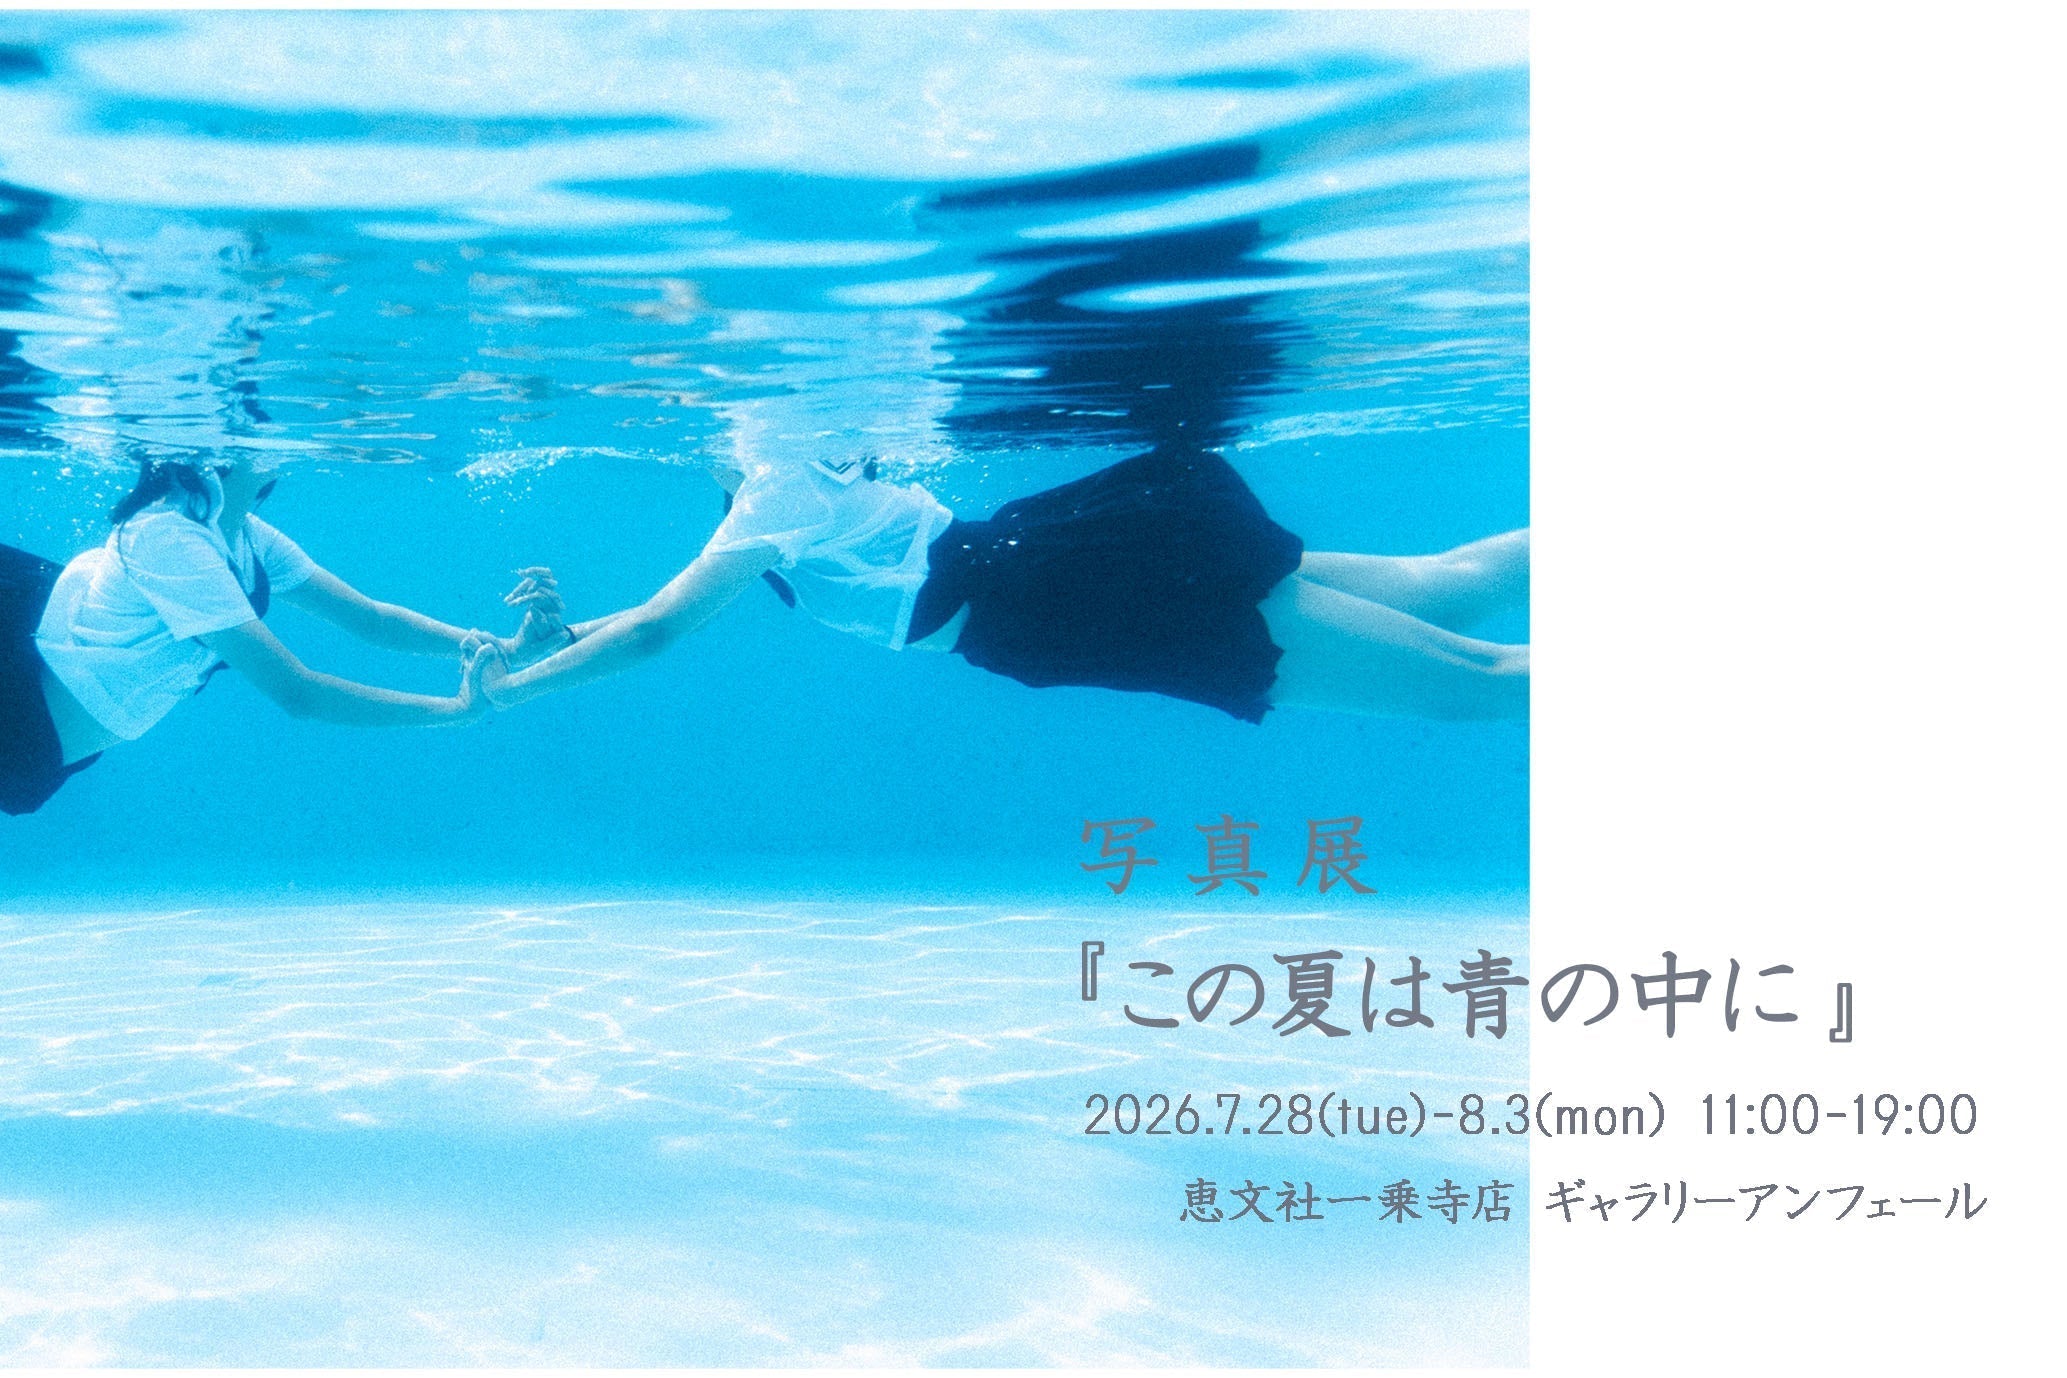
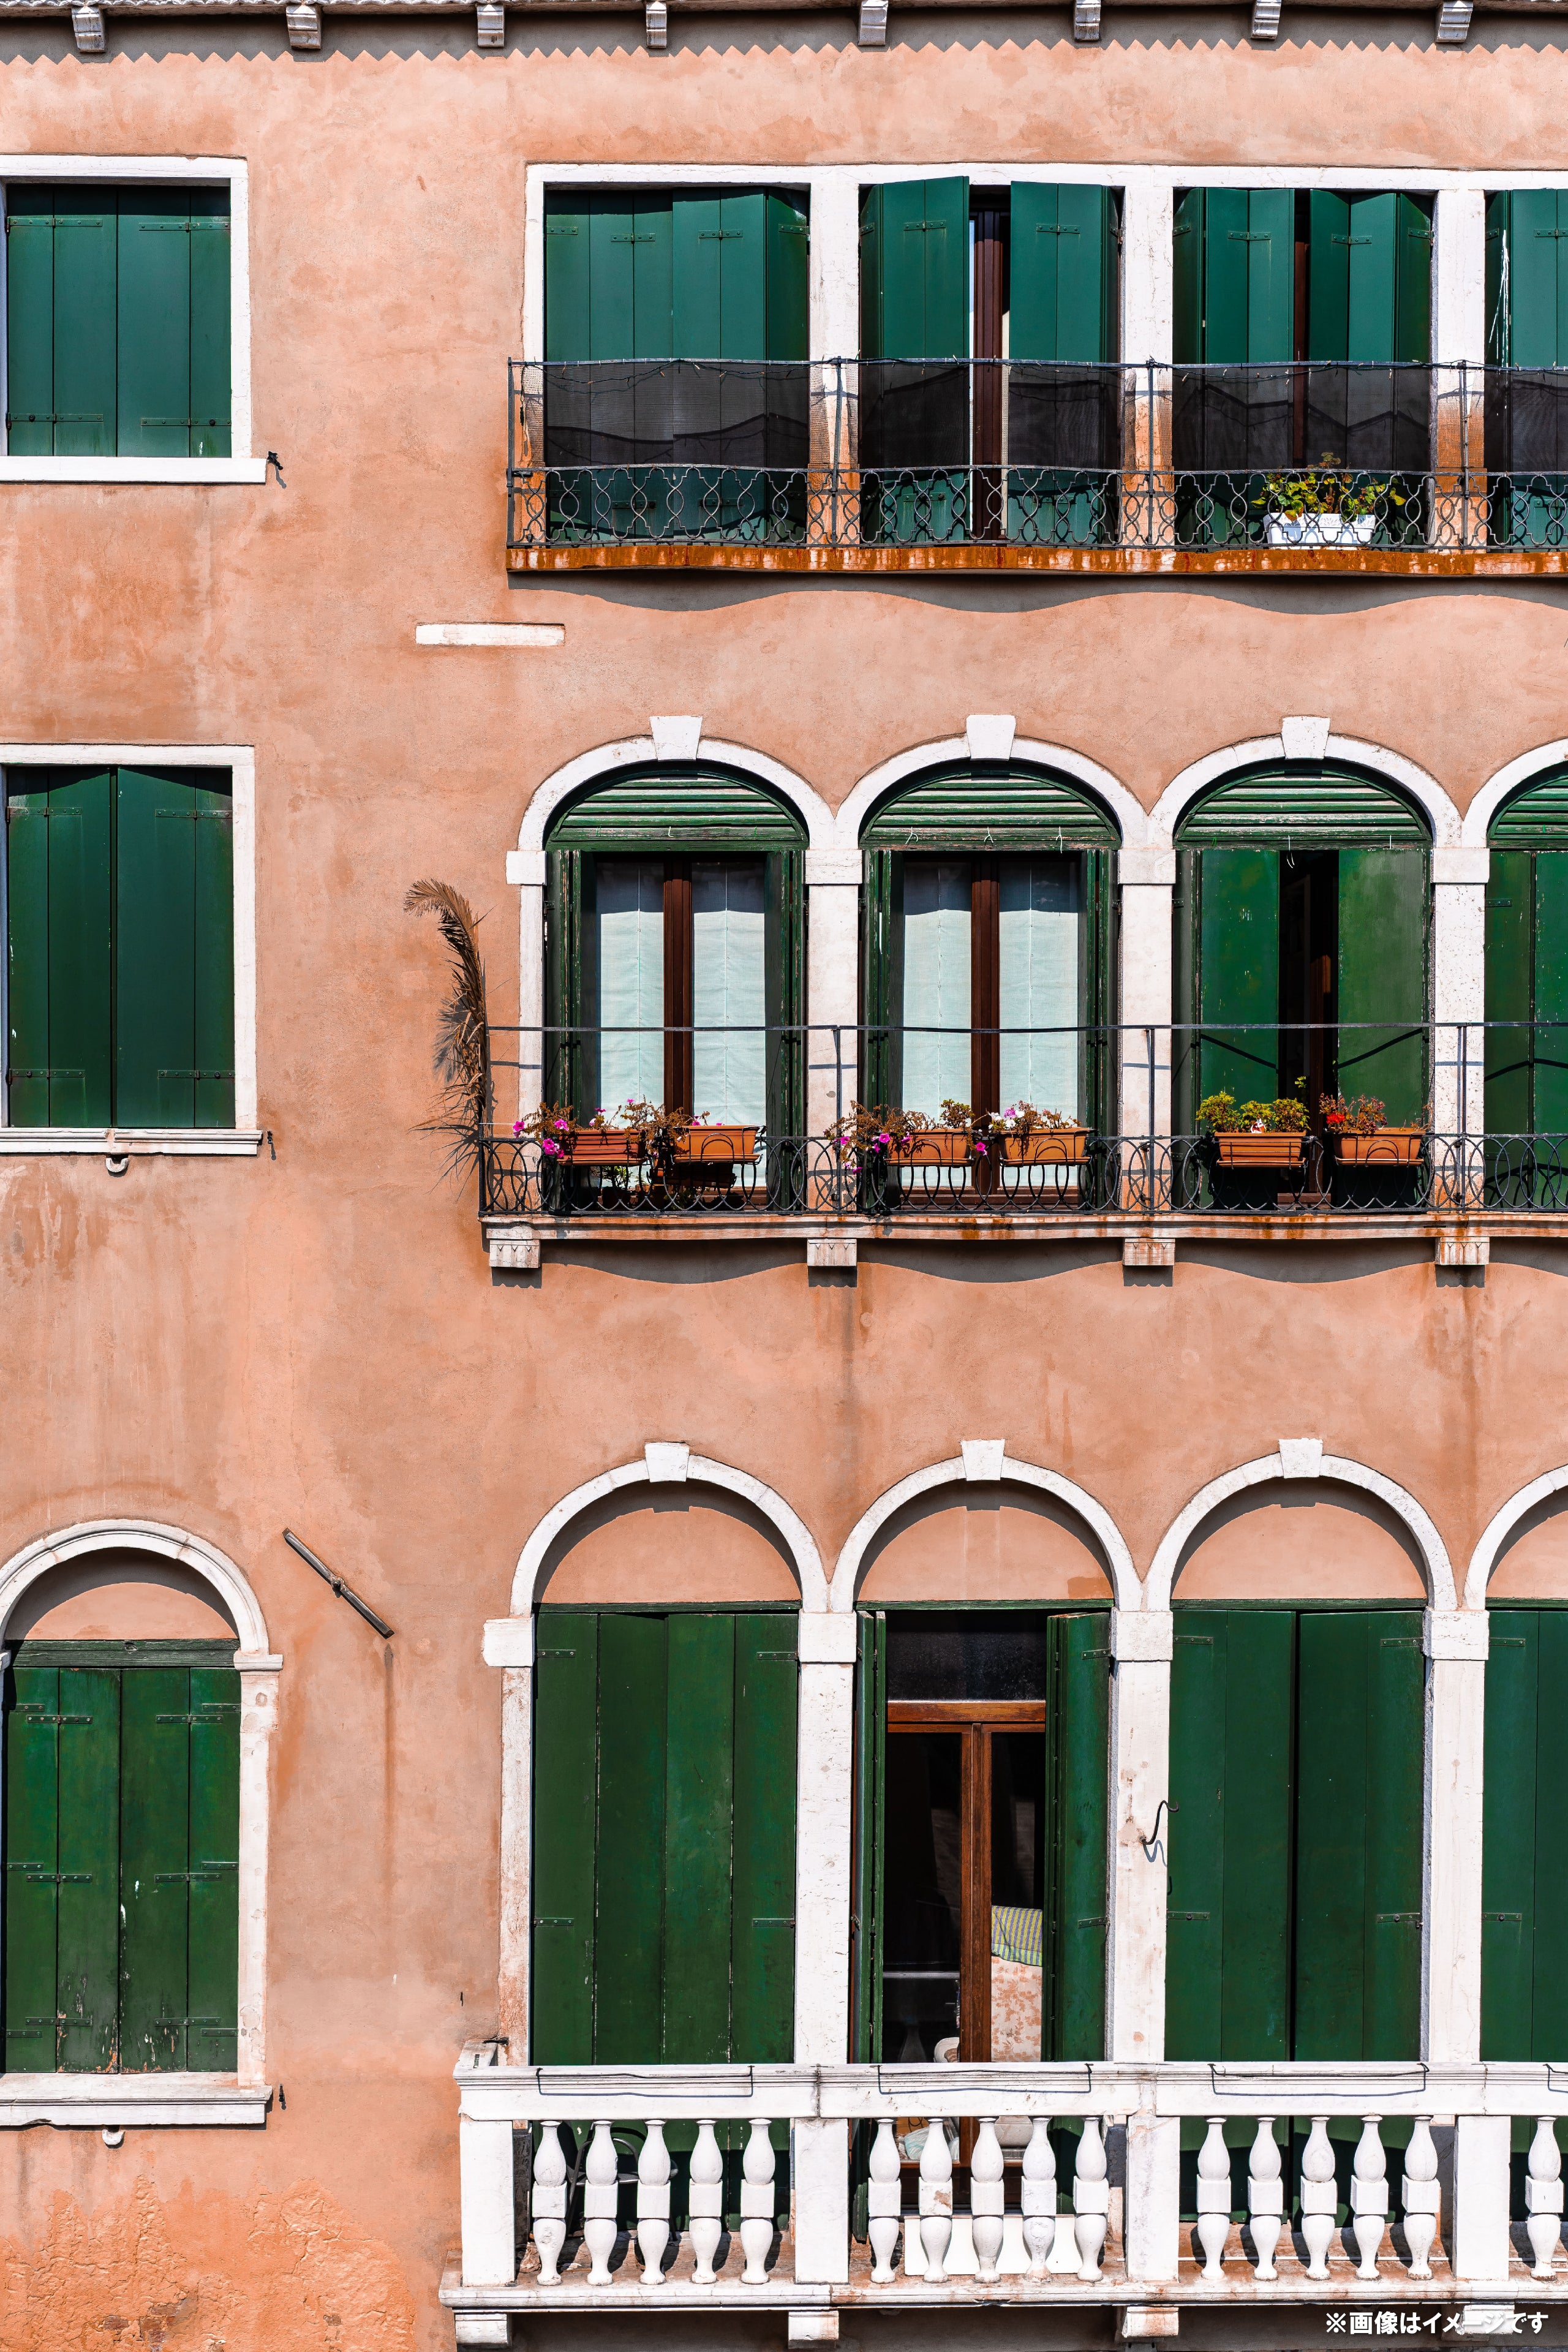
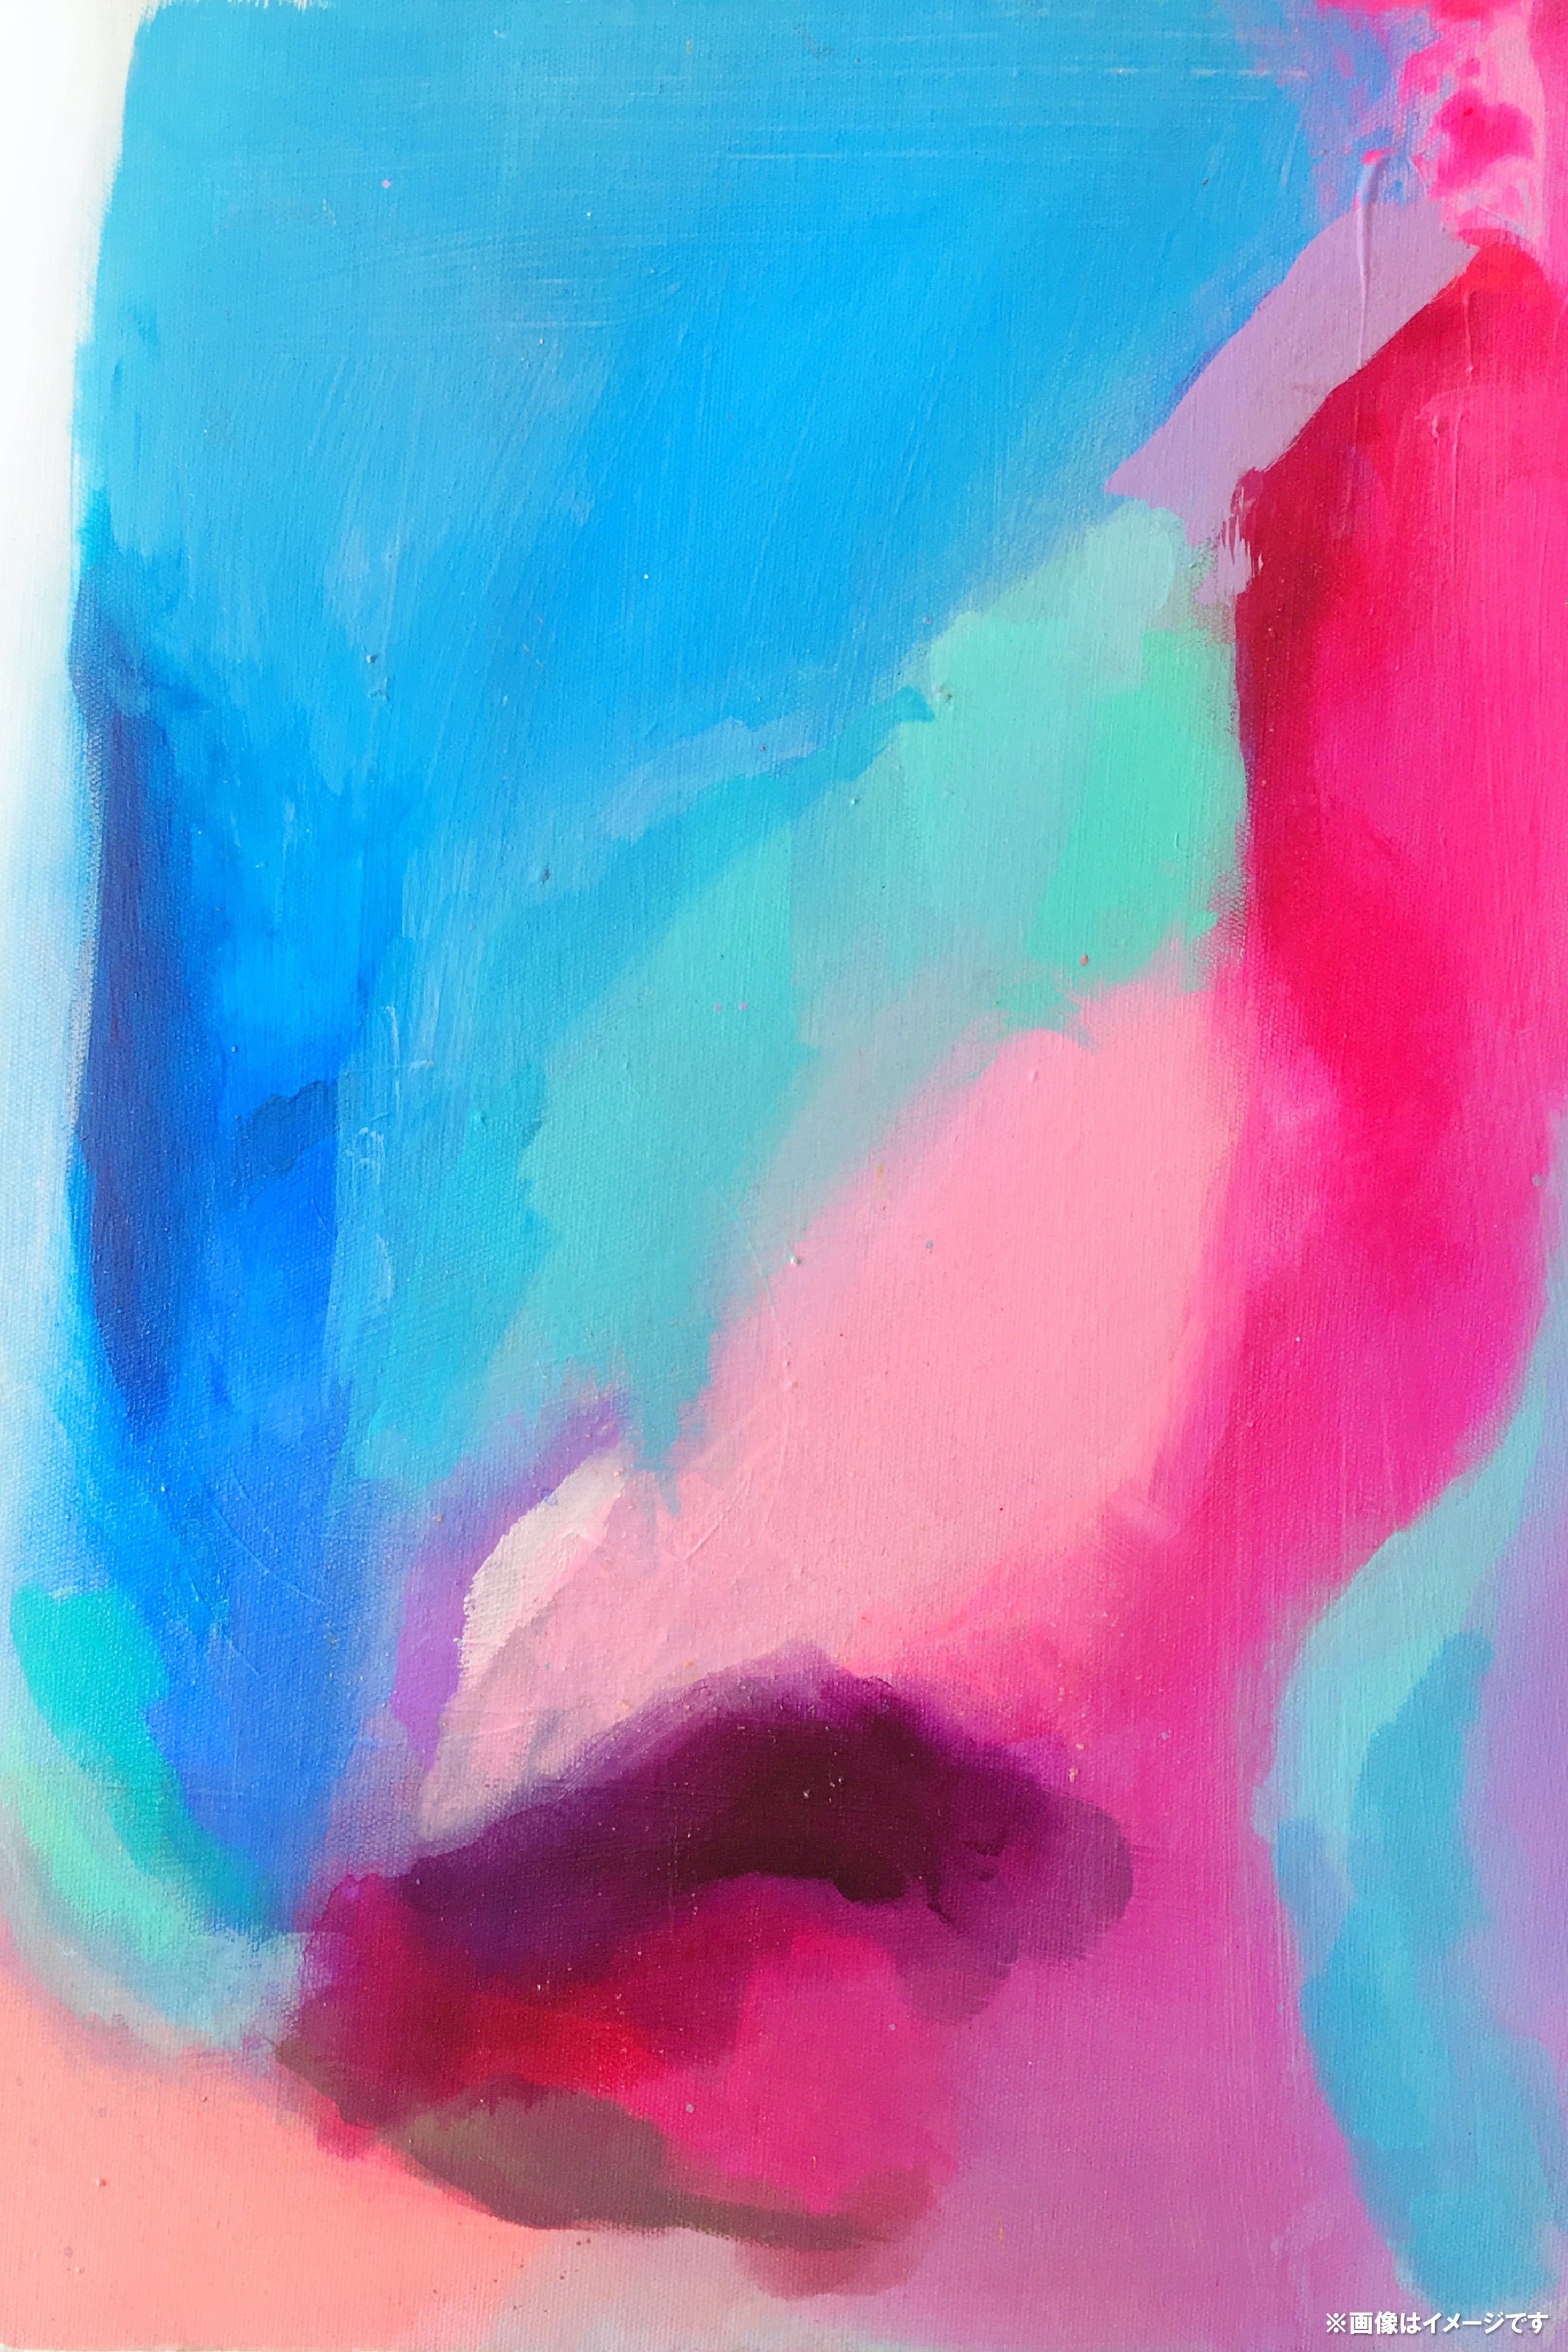
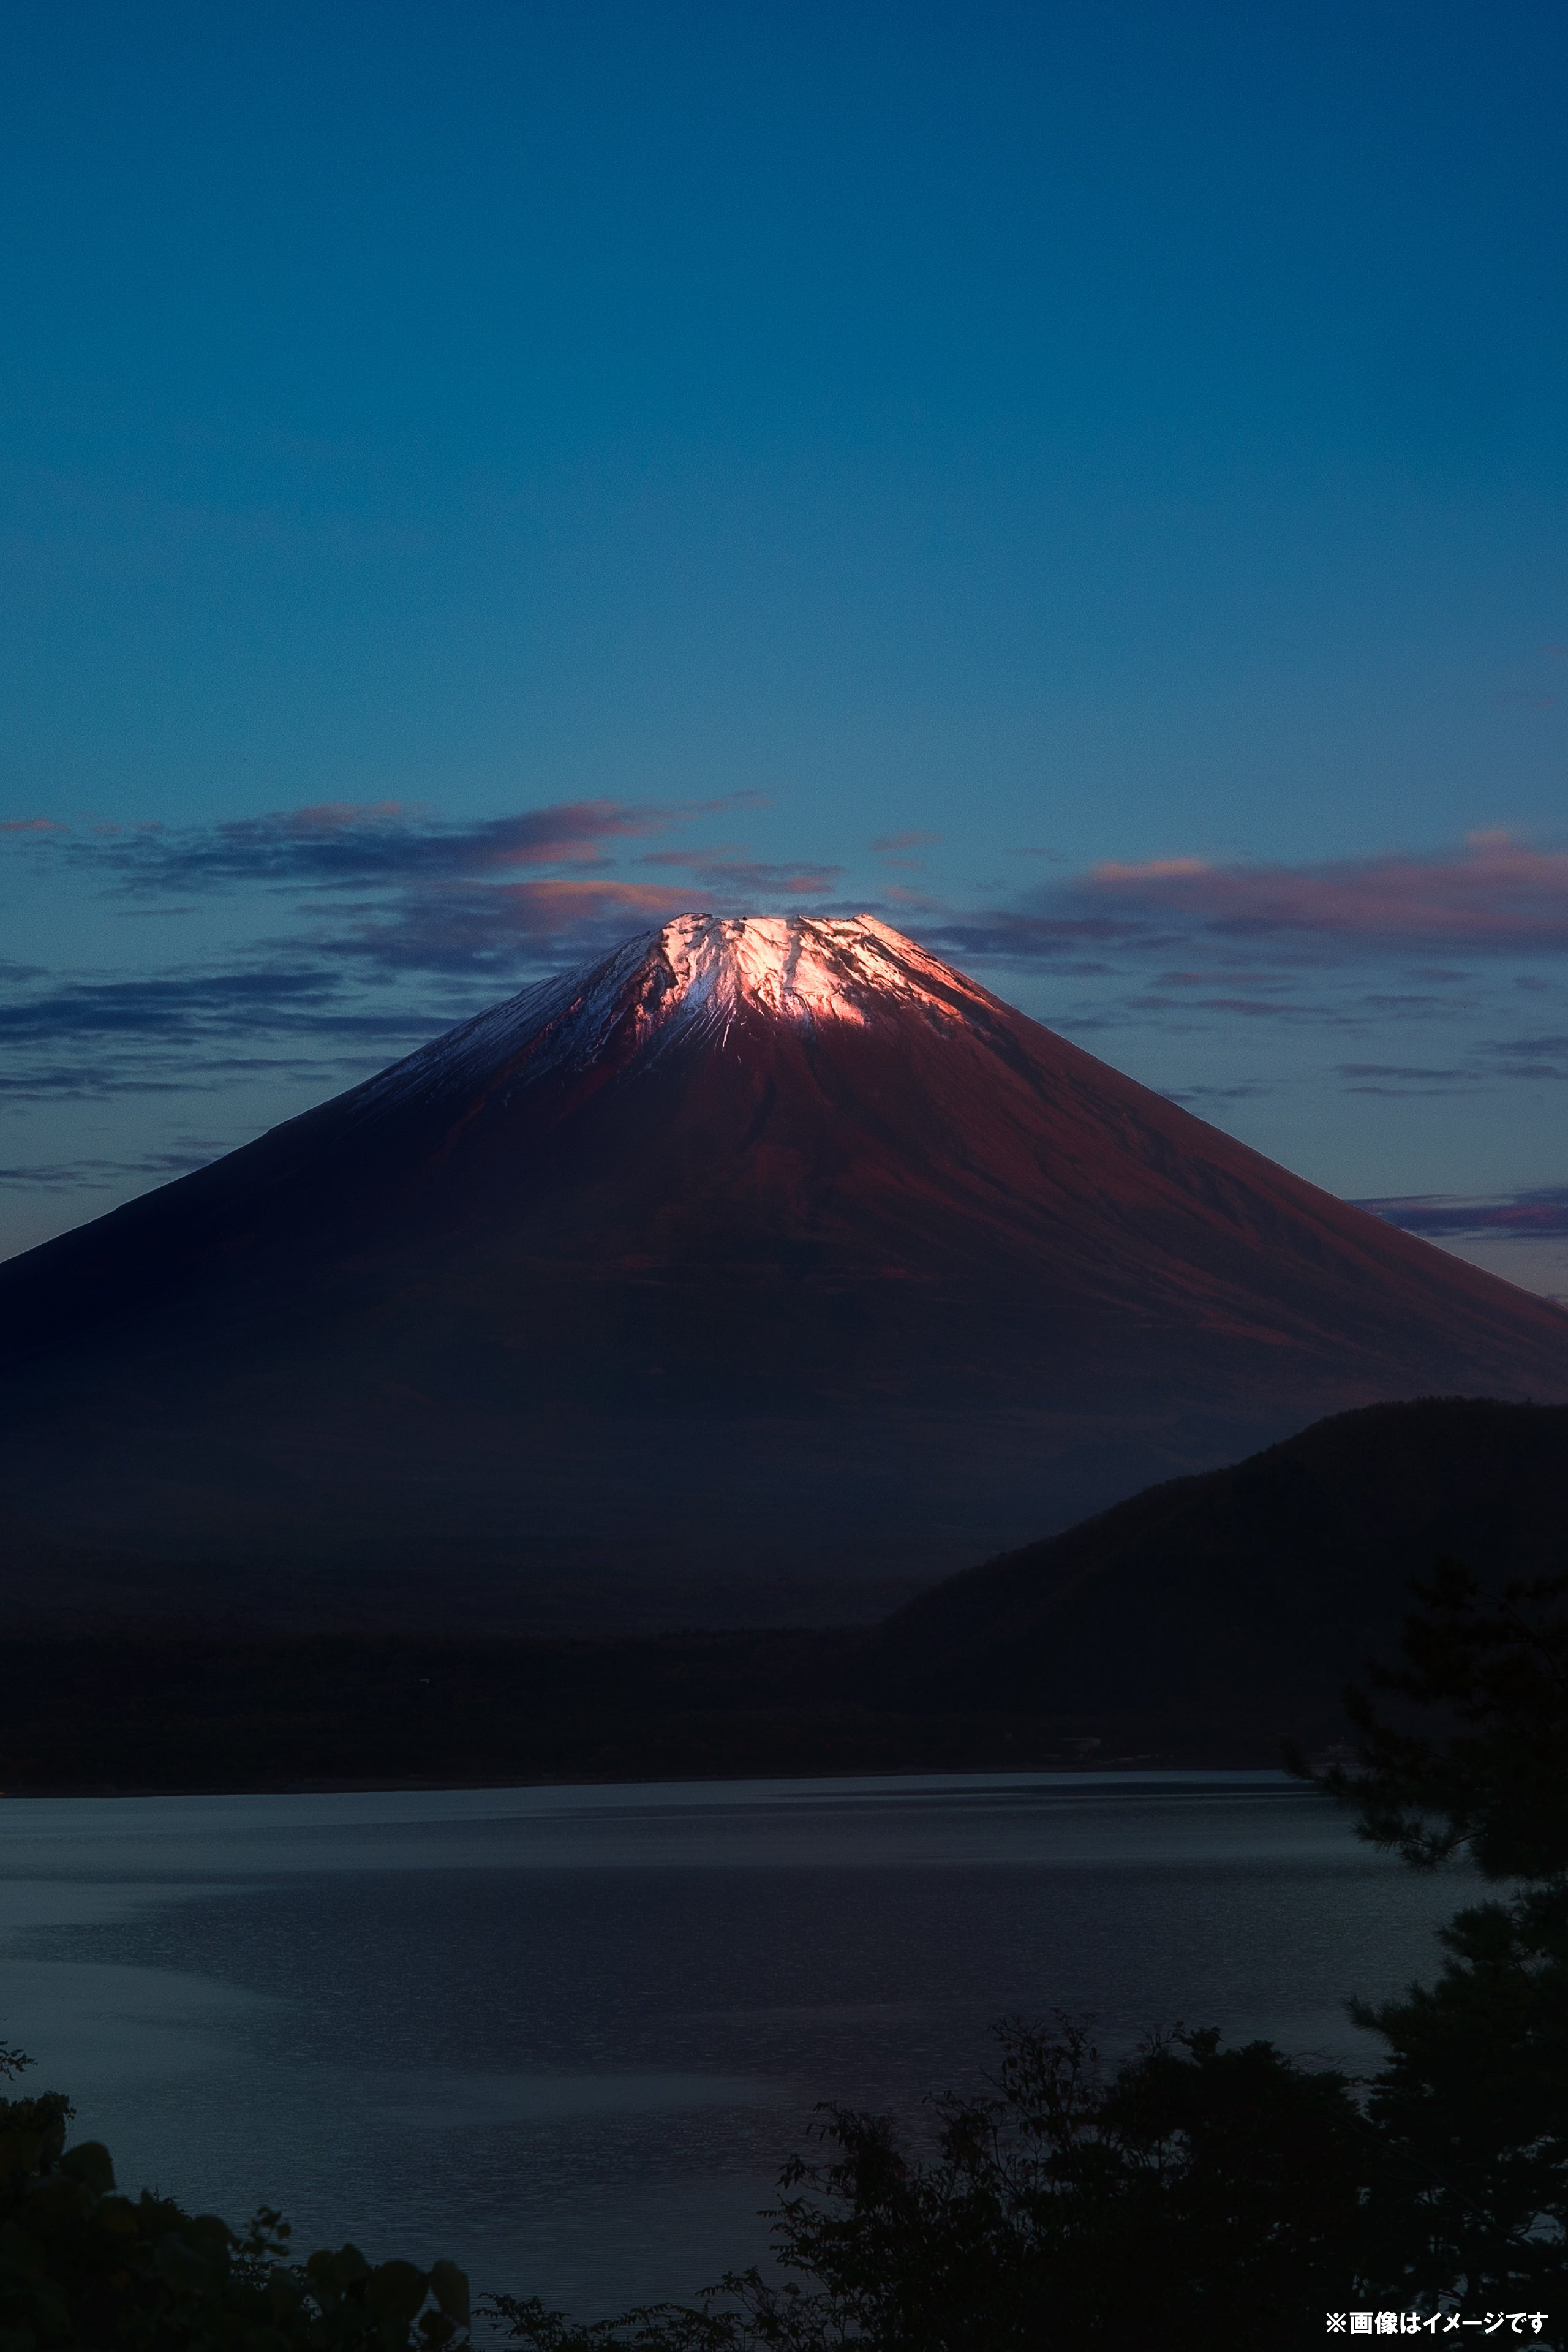
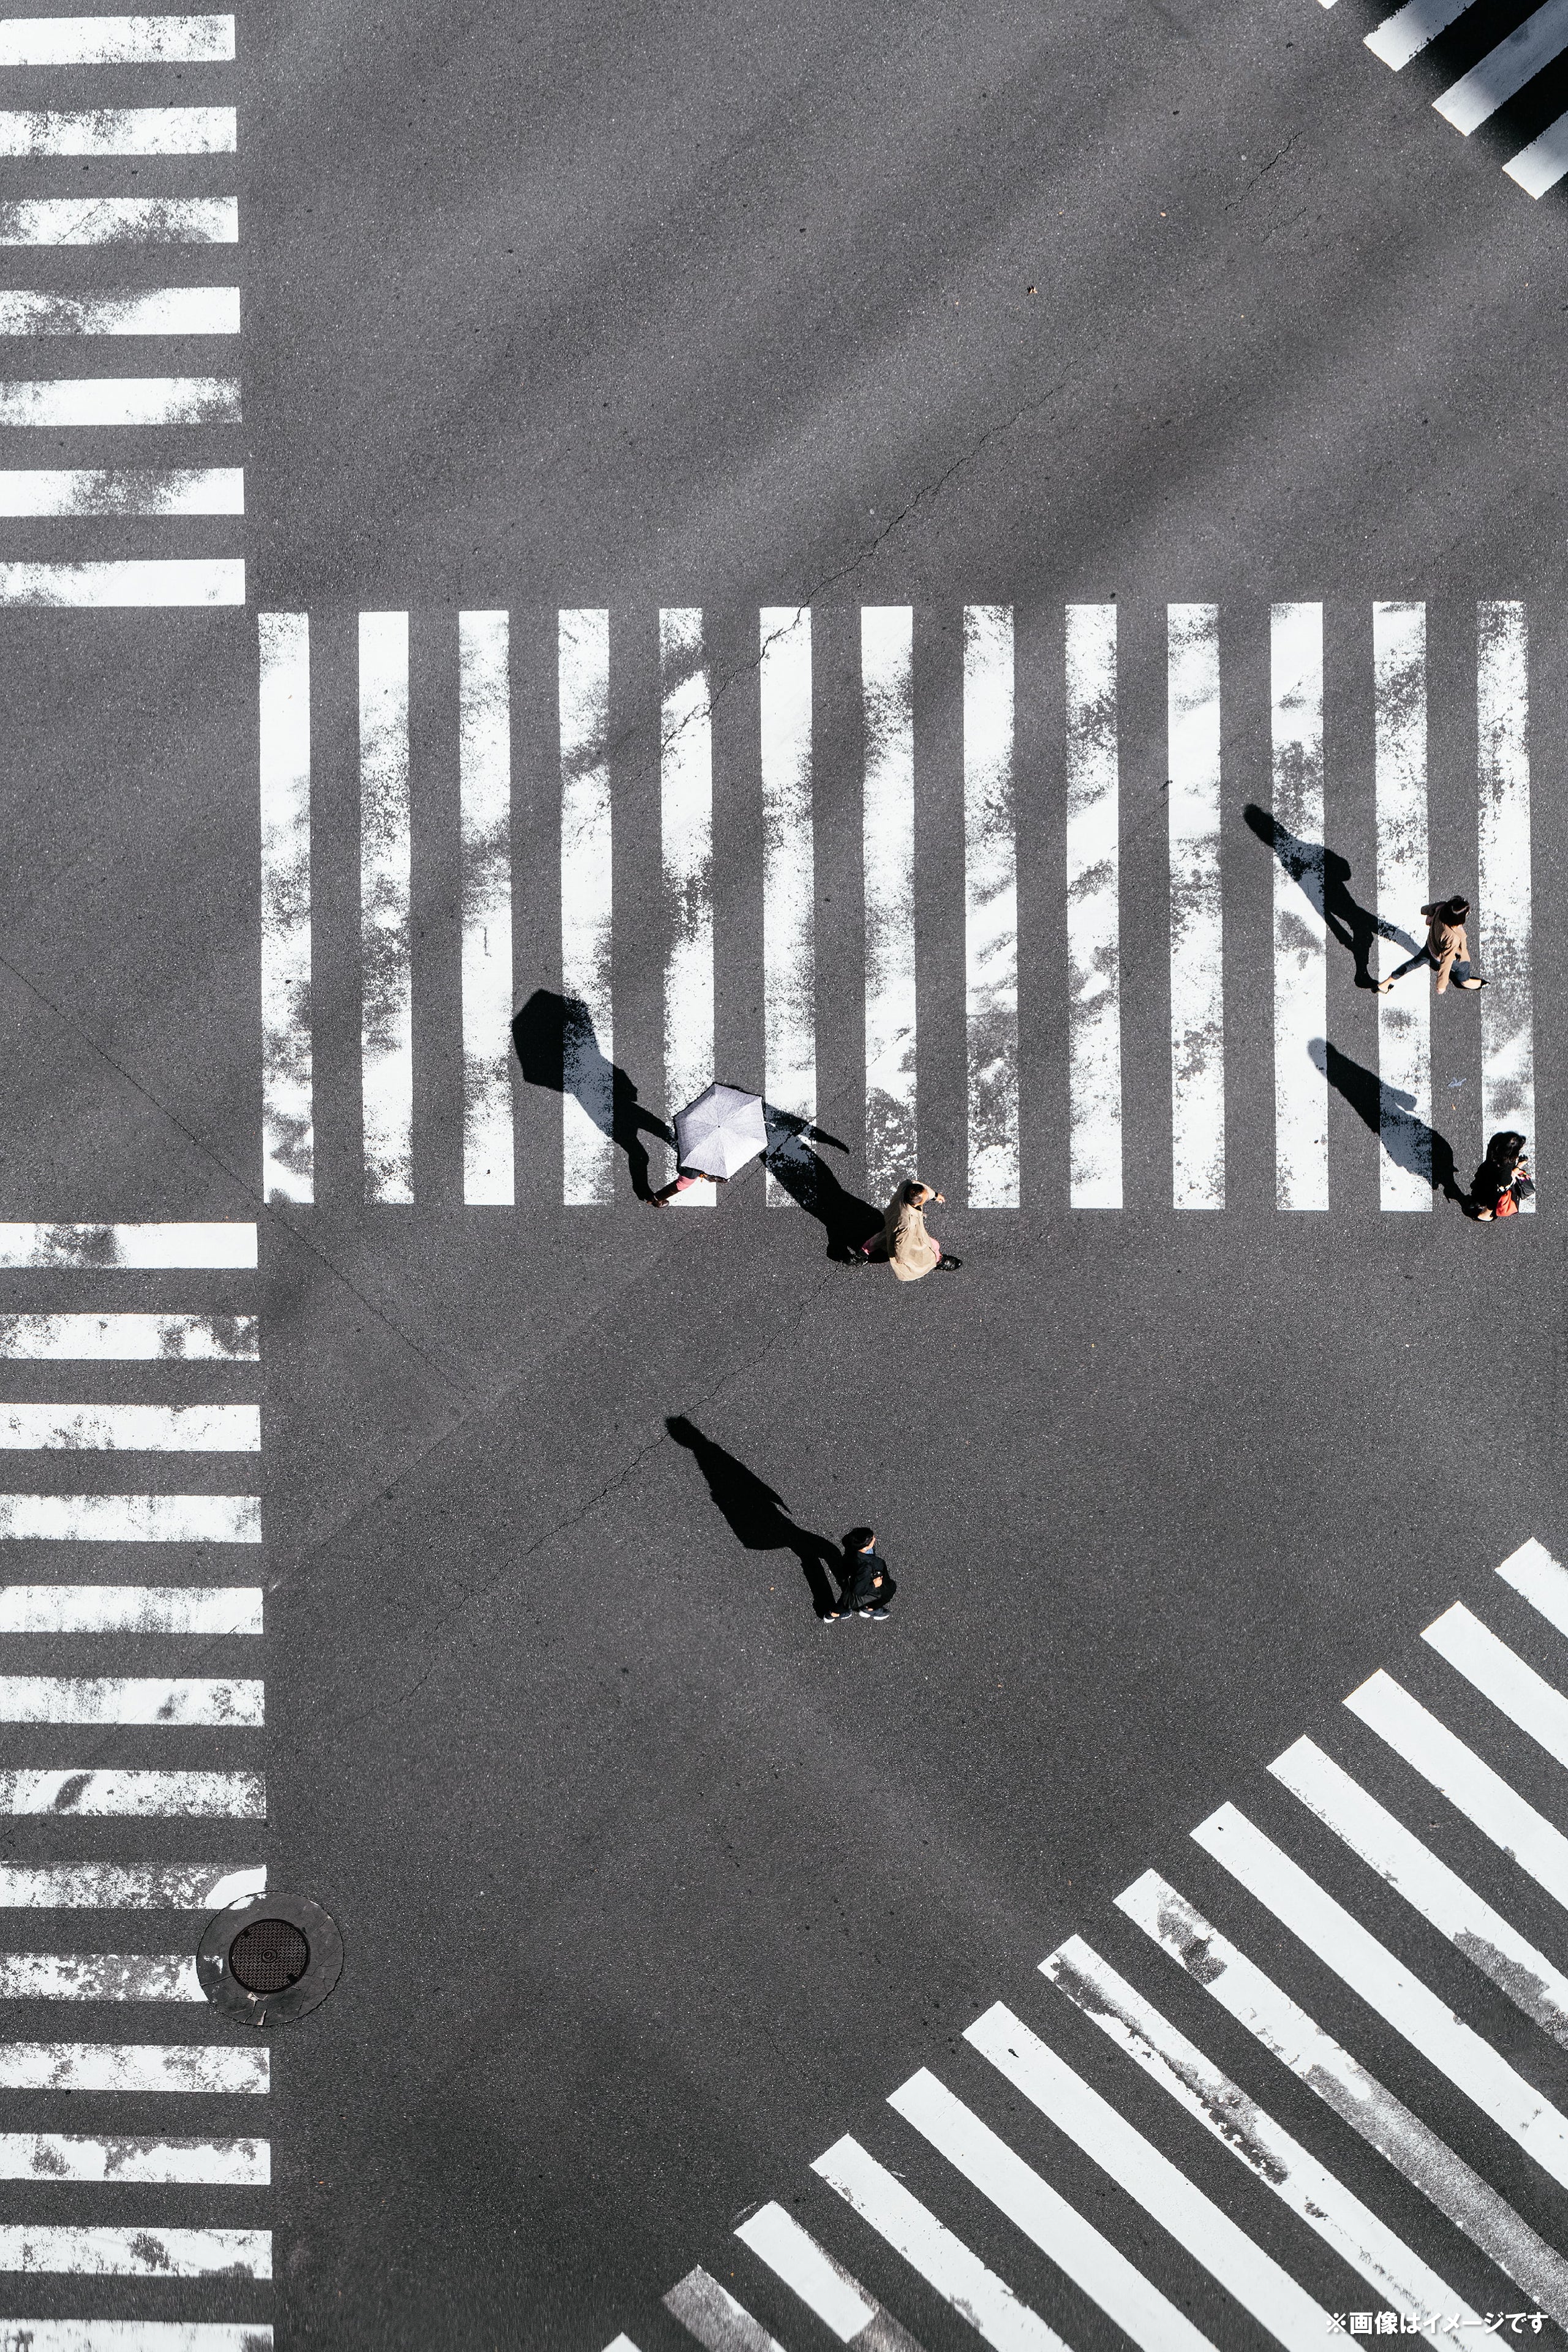
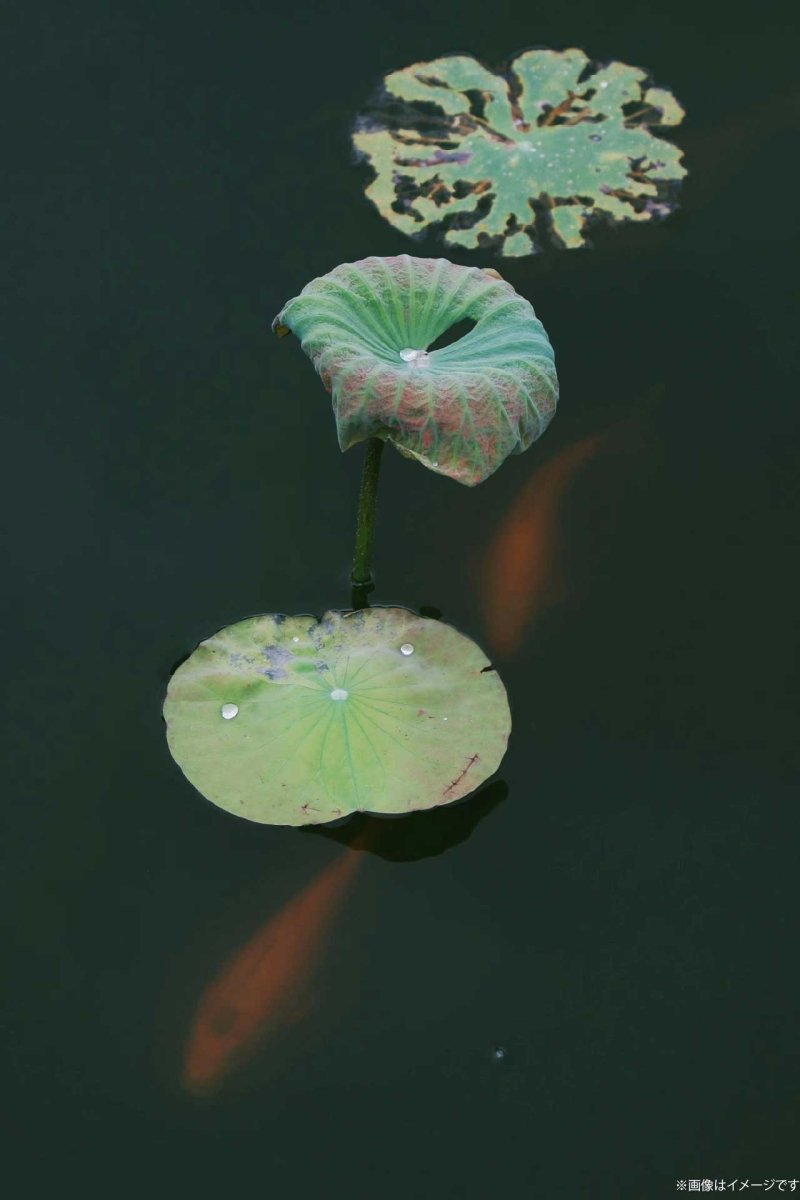
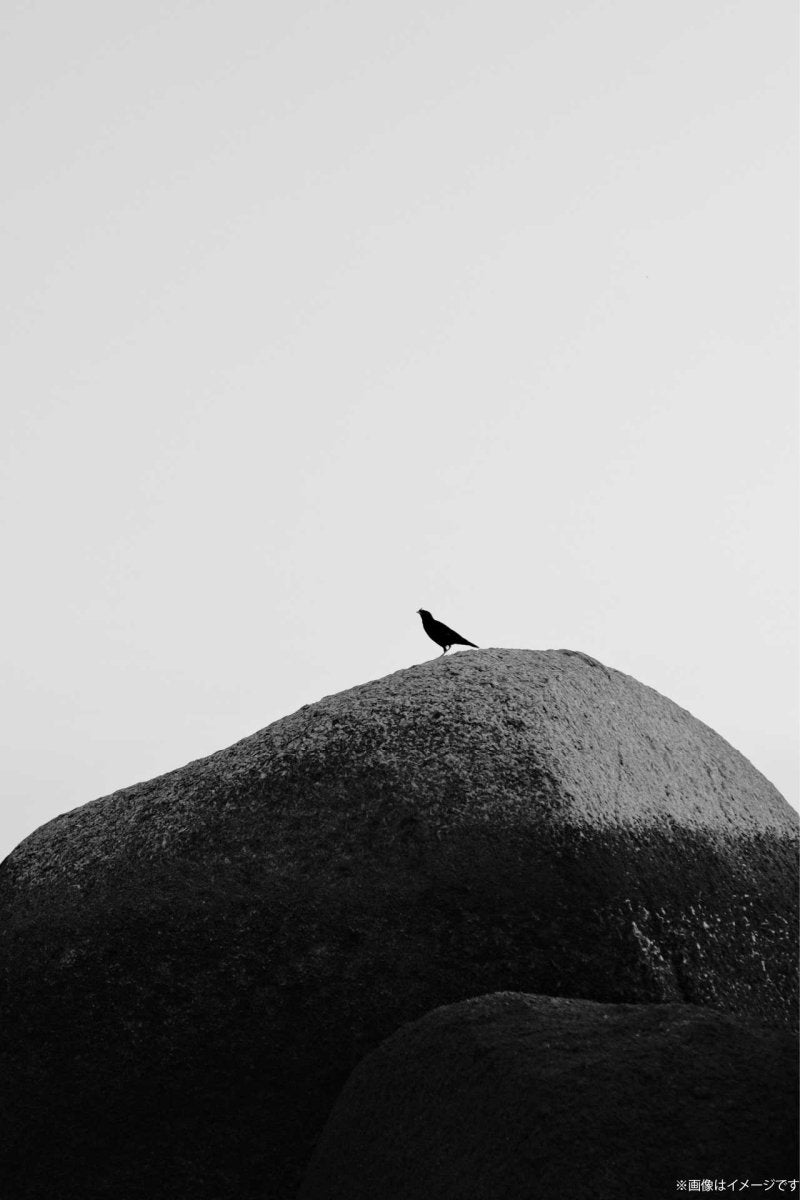
写真を"あえて印刷する"ということ
それは作品にするということ
それは贈れるということ
それは生活に残ると言うこと
肌の感覚は触らないと分からないように、写真もディスプレイを介さず肉眼で捉えることで迫力や奥ゆかしさを感じることができると思っています。
デジタル全盛の時代に、あえて印刷するという意味と体験を
全ての芸術家に感じてもらうために”PHOTOPRI”を立ち上げました
PRINT OFFICE
MAP
現在ご来訪でのご相談は停止しておりますのでご了承ください。
RECENTLY VIEWED